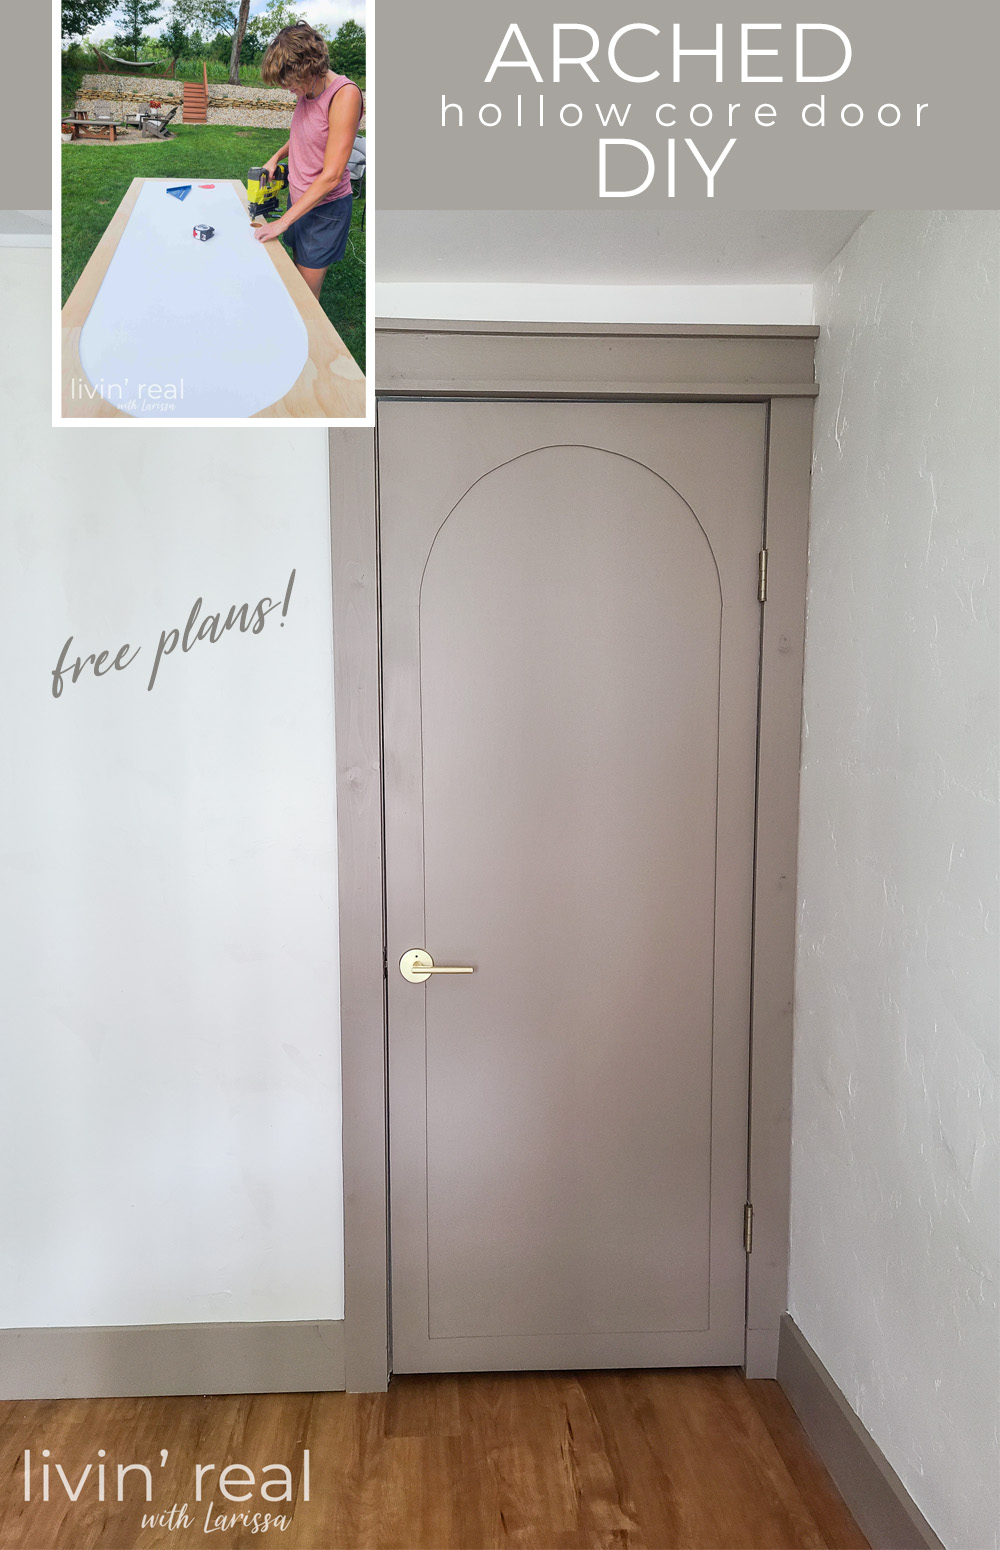
As with any DIY project, there are so many steps to reaching the final result. You’ve got planning, demoing, constructing, preparing, and then the actual finishing. whew! Today, I’m sharing the next chapter of my family room remodel with an arched hollow core door tutorial for you. Here is where it all starts back ten months ago and before I moved my kids and I in to our new home.

With my family room being hard-core full of straight edges and lines, I want to add softness to the basically “ugly” corner of the room. Do you have one of those too?
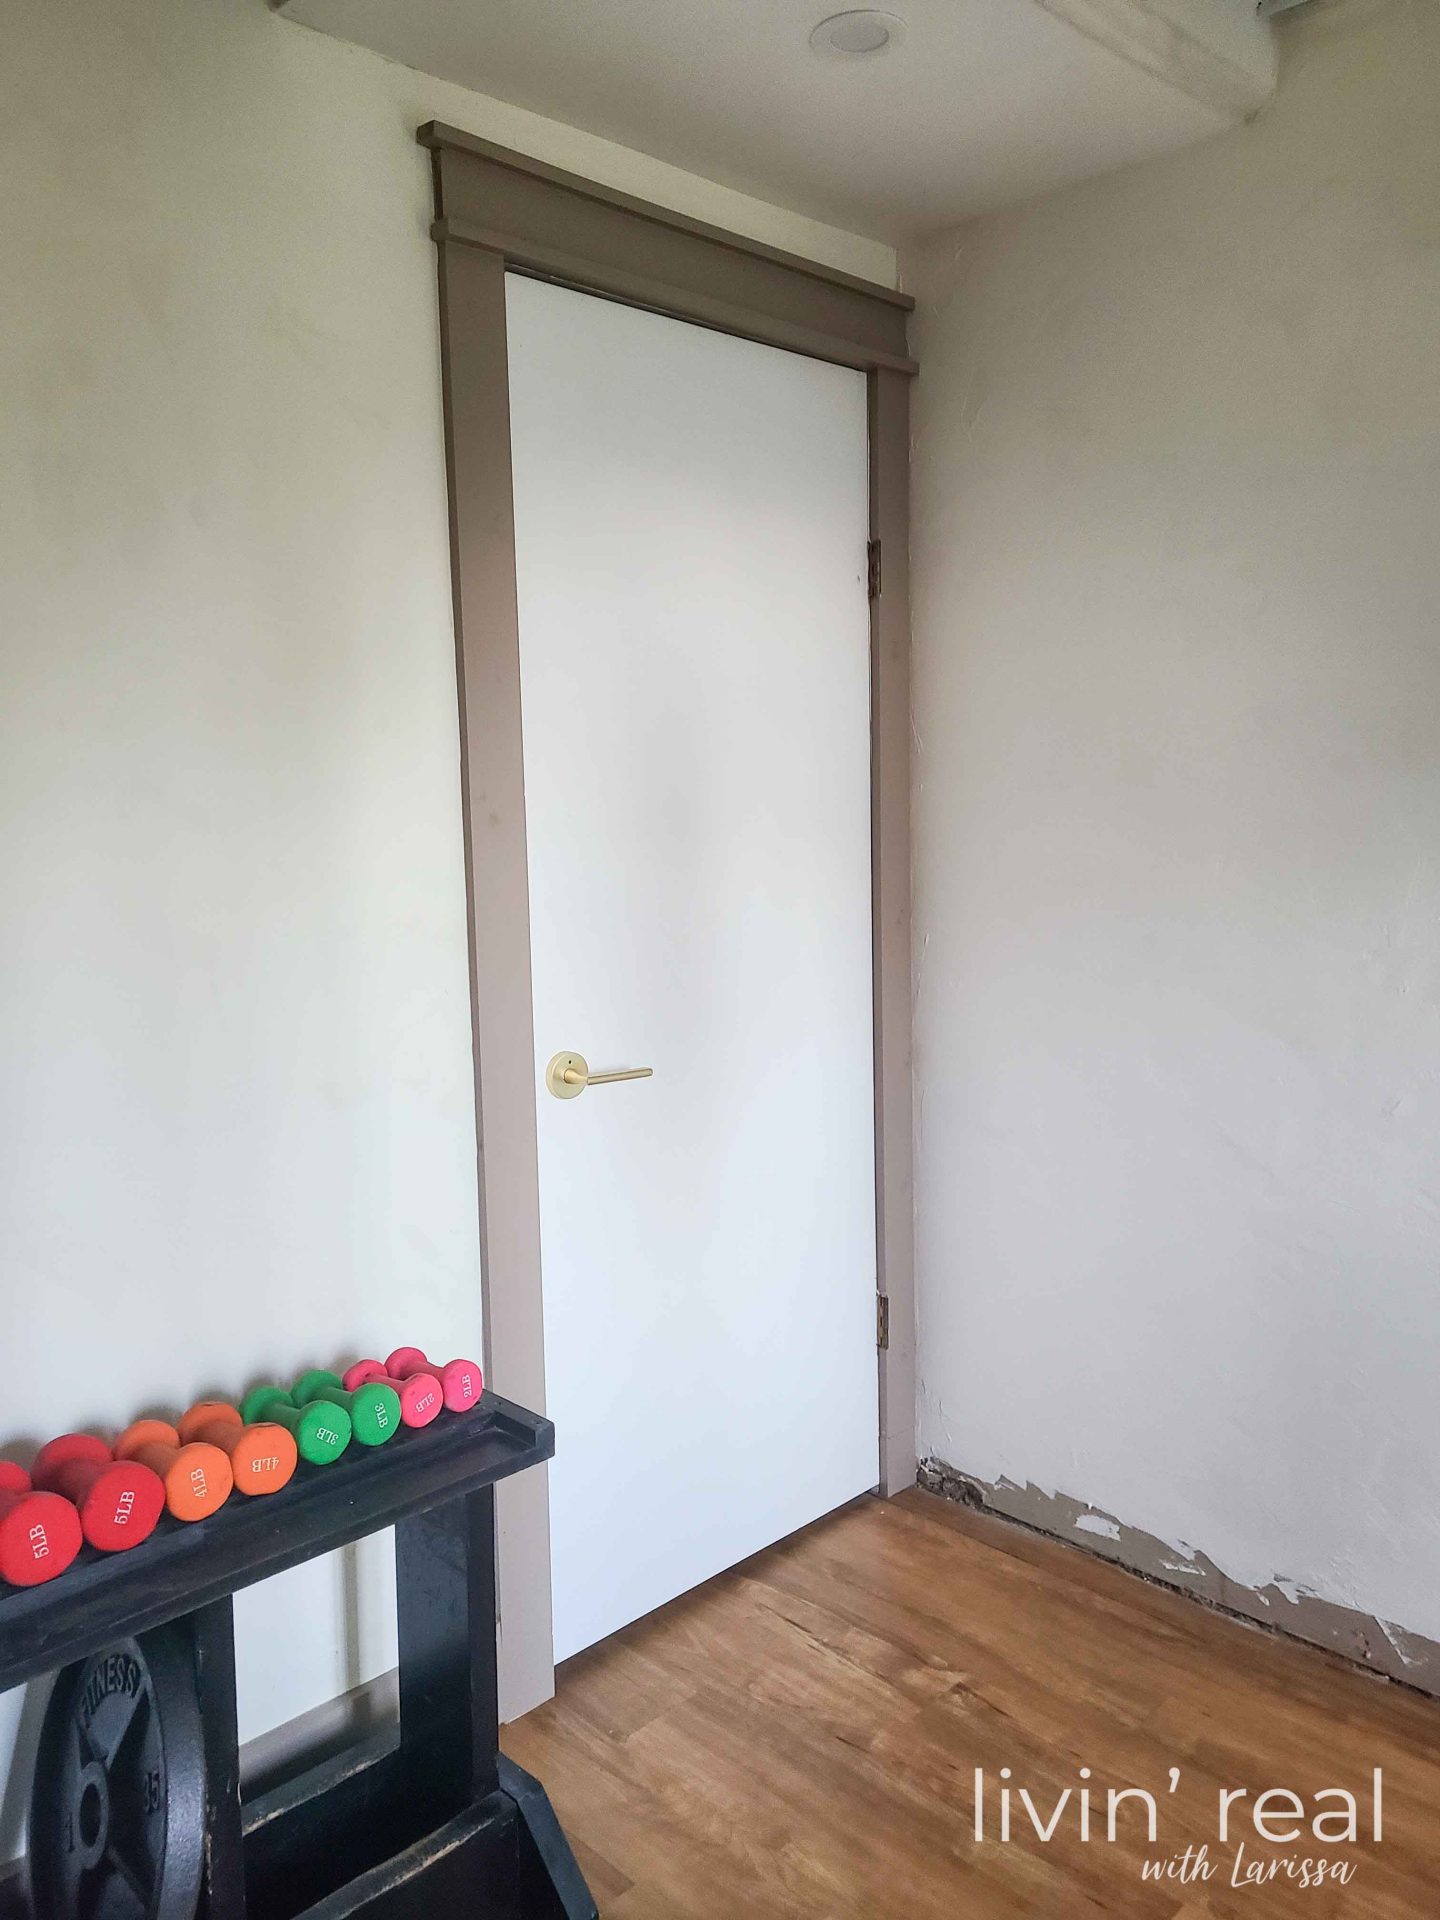
Below is a list of all that I’ve been working on in this space since moving in: (all are full of free and helpful information and vlogs)
- Family Room Demolition Begins
- Family Room Lighting
- Hide Wiring in Open Ceiling
- DIY Open Staircase
- Open Staircase Update
- Family Room Update
- Wall to Ceiling Transition
- Paint an Open Beam Ceiling
- DIY Accent Wall
- Open Staircase Trim
Now if that doesn’t inspire you to just get started, I don’t know what will! hee hee.
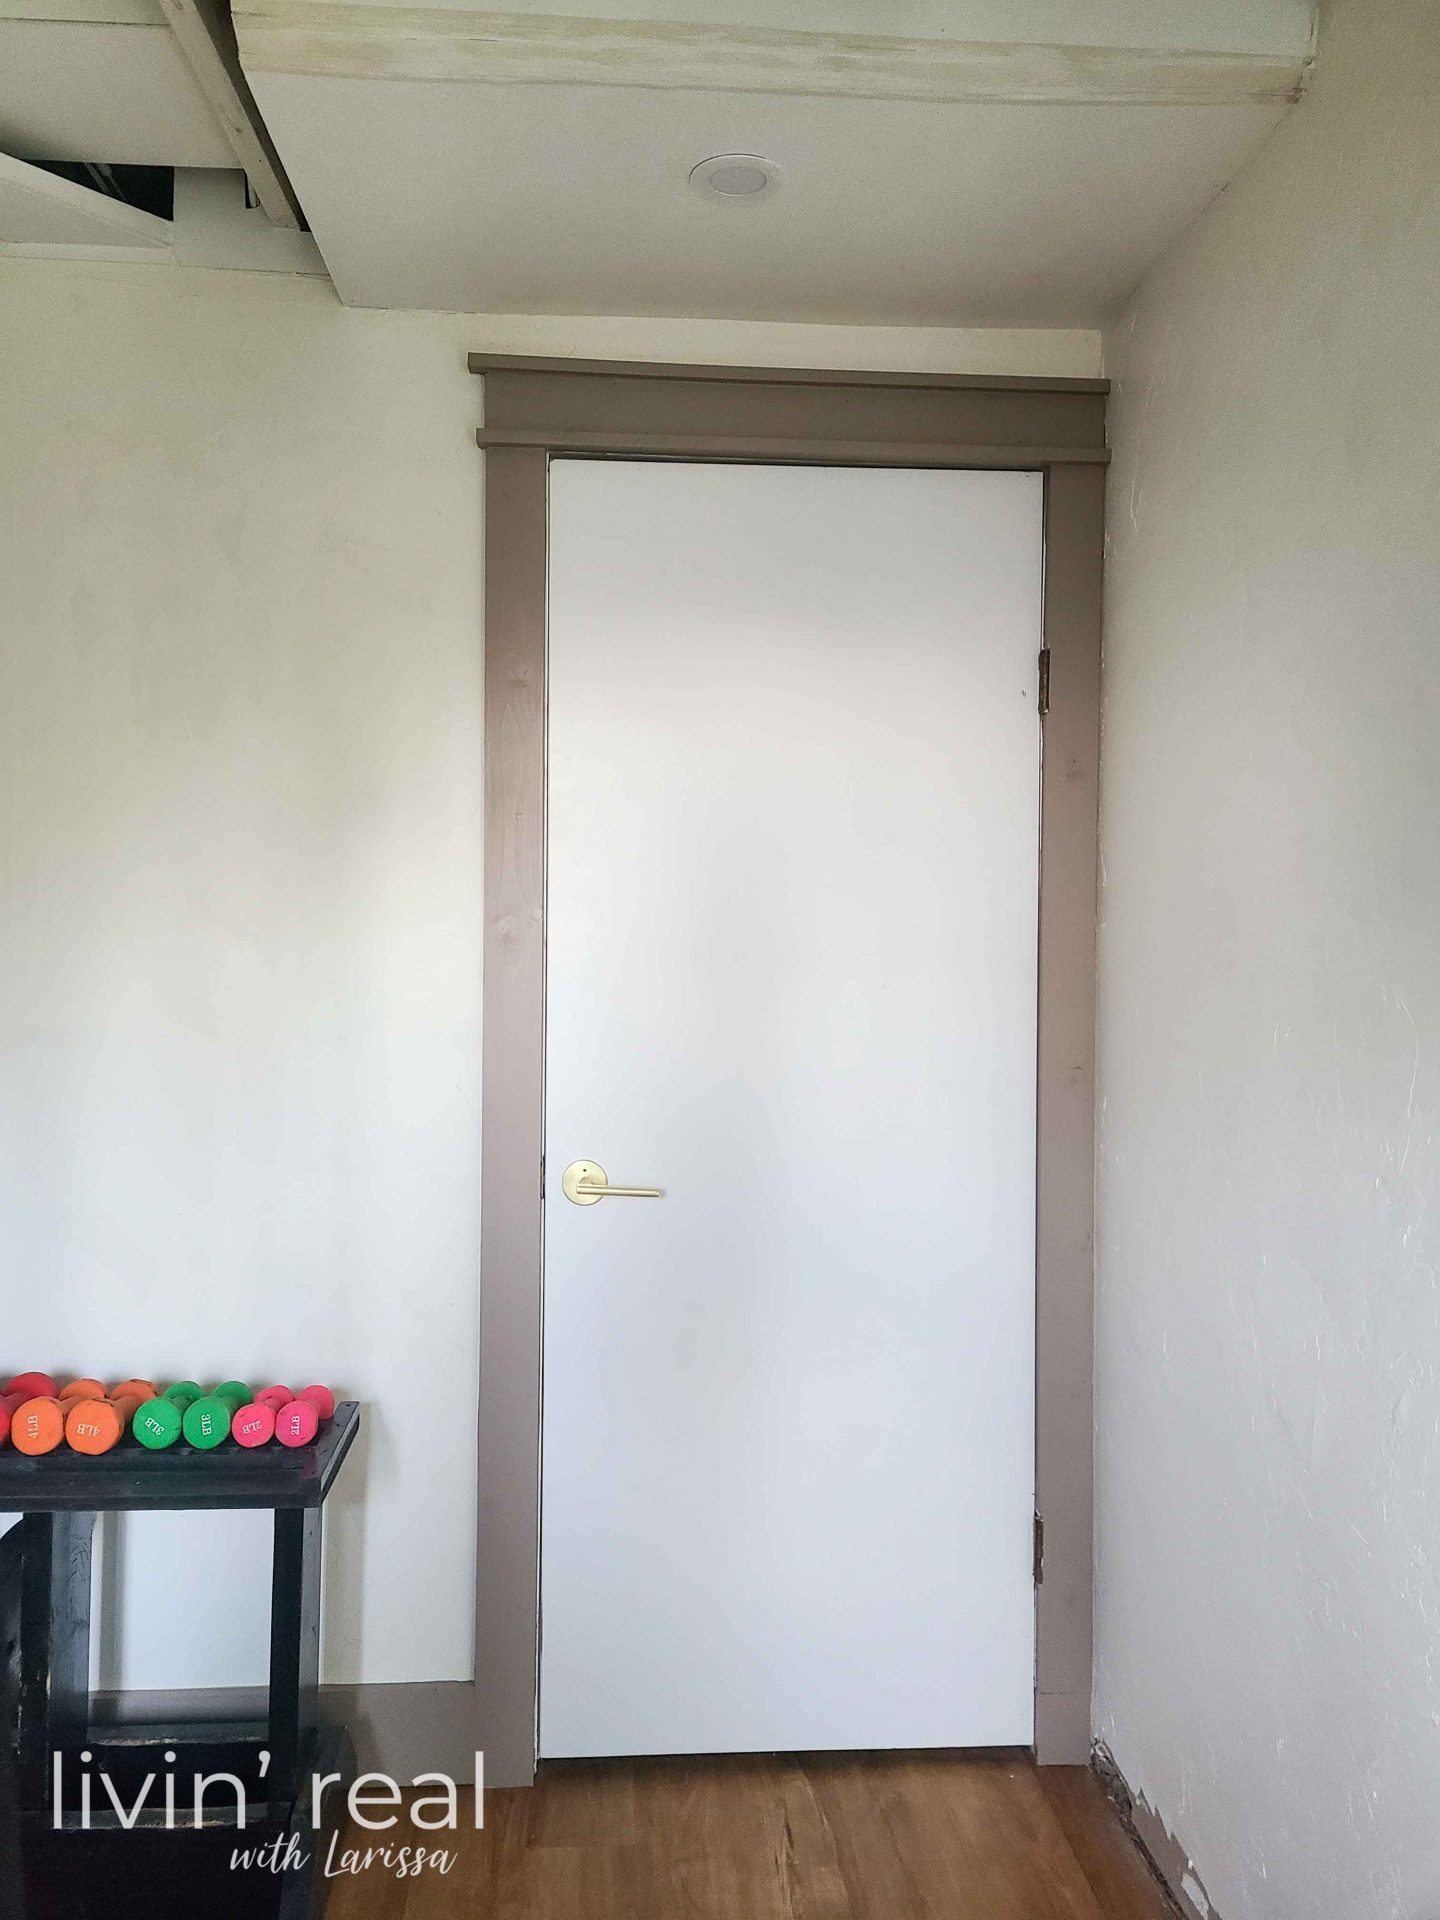
ARCH YOU EXCITED?
For the record, I’m not a huge fan of hollow core doors. However, I am also not a fan of replacing what’s functioning perfectly with something new.
With that in mind, I aim to take what is functional and give it a new look to suit my desire.
In my previous home, you can see I transformed seven of my doors into wood grain paneled doors even though there were boring hollow core. See the full tutorial HERE.
This time around, I’m adding curved elements any way I can, including the arch wainscoting I completed in my new entry HERE with tutorial.

Likewise, you can see how I took old louver doors and gave them a modern vibe when I built my son’s bedroom.
So, of course I want to break up the space a bit with a softer arched hollow core door.
If you want to dress up your boring doors as well, there are many ways you can achieve it. To do this exact style, you’ll need the steps and supplies below as well as my vlog tutorial.
STEP 1
Gather your materials and supplies. I’m sharing the steps to use my design for my size door – adjust your measurements to suit your needs.
Materials & supplies:
- 1 – 4′ x 8′ sheet of ¼” luan (thin plywood) you can use thinner, but there will be less definition. Also, certain stores will cut it down for you for free to fit in your vehicle if you ask.
- brad nailer and ¾” brads or you can staple as well
- jigsaw with fine tooth blade or coping saw or scroll saw… you get the idea.
- circular saw with rip-cut jig or straight edge
- string & pencil
- wood glue (optional)
- tape measure
- builder’s square
- safety gear
- and your choice of finish materials (paint, stain… the sky’s the limit)
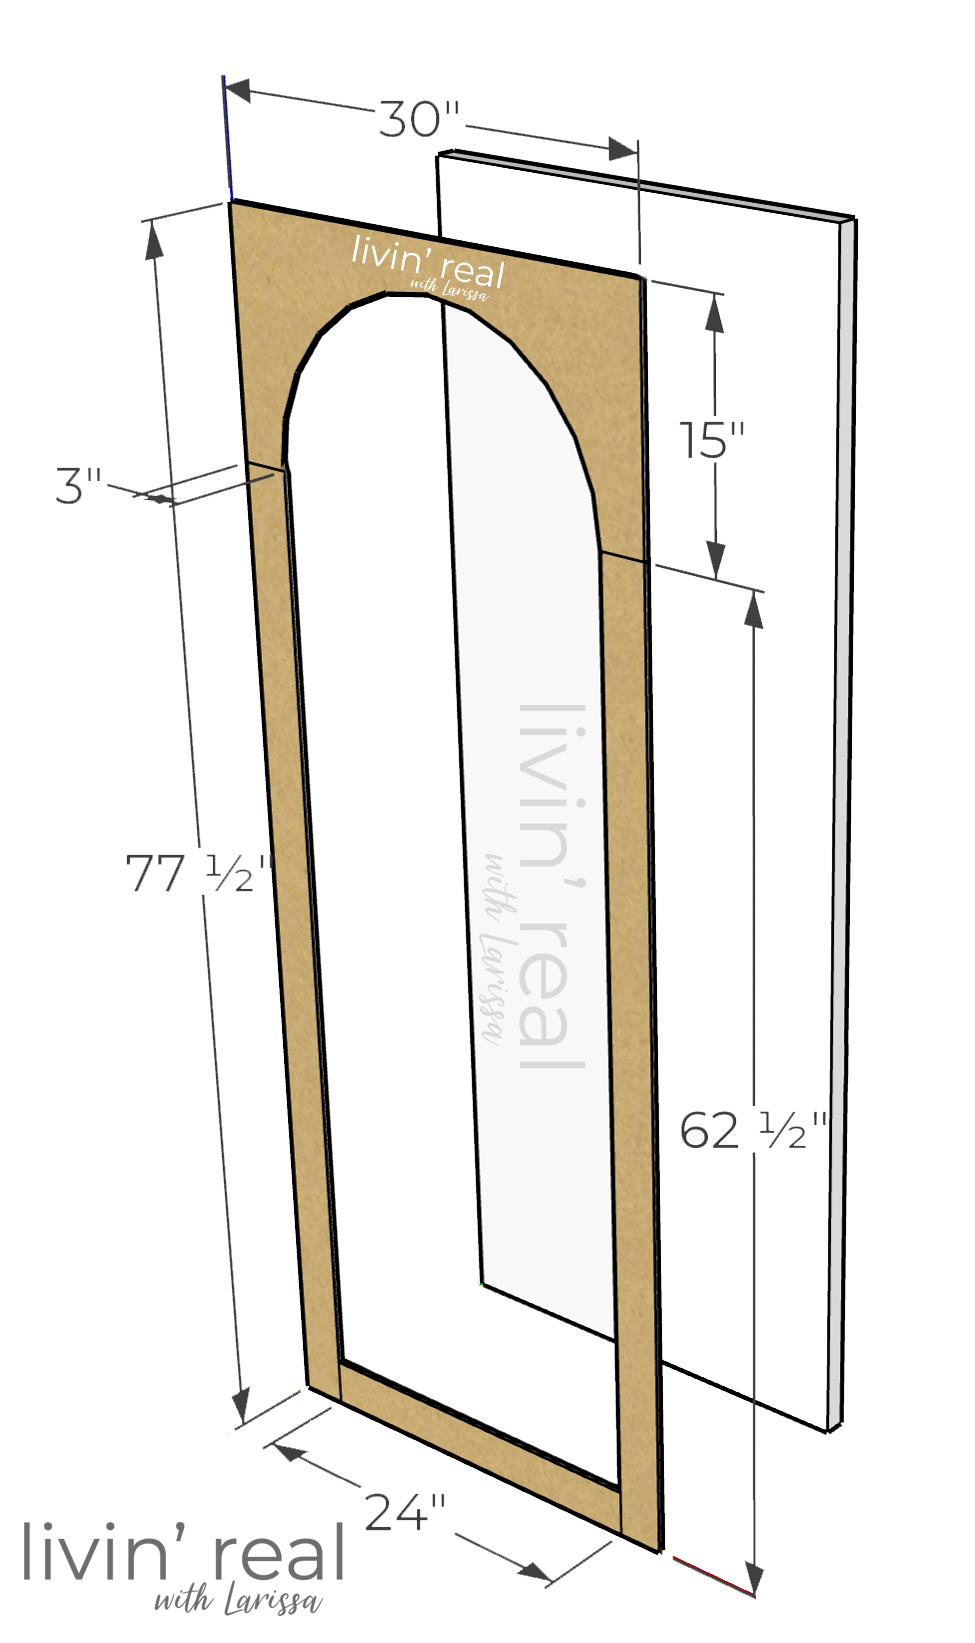
First, find the dimensions of your hollow core door. My door is 30″ wide and 77 ½” H.
STEP 2
While you could totally do this with the door in place, I prefer to work with it in a workspace, so things are square and don’t move.
Next, rip your luan into four pieces:
- 2 – 3″ x door length strips
- 1 – 3″ x door width minus 6″ (to equate for the two side strips)
- 1 – panel for top arch (see diagram above and instructions below)
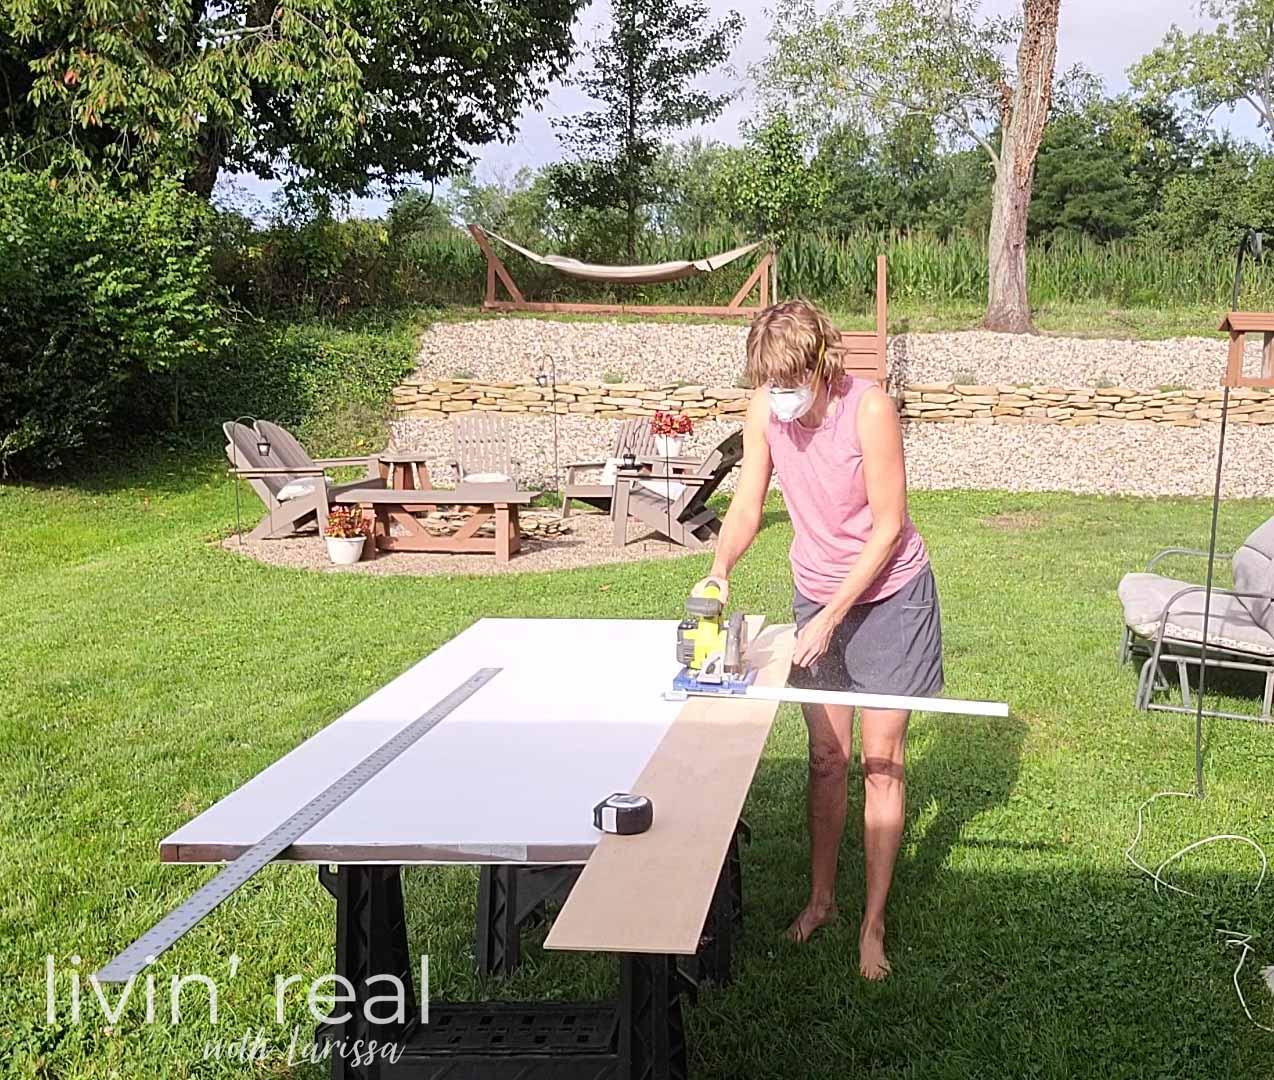
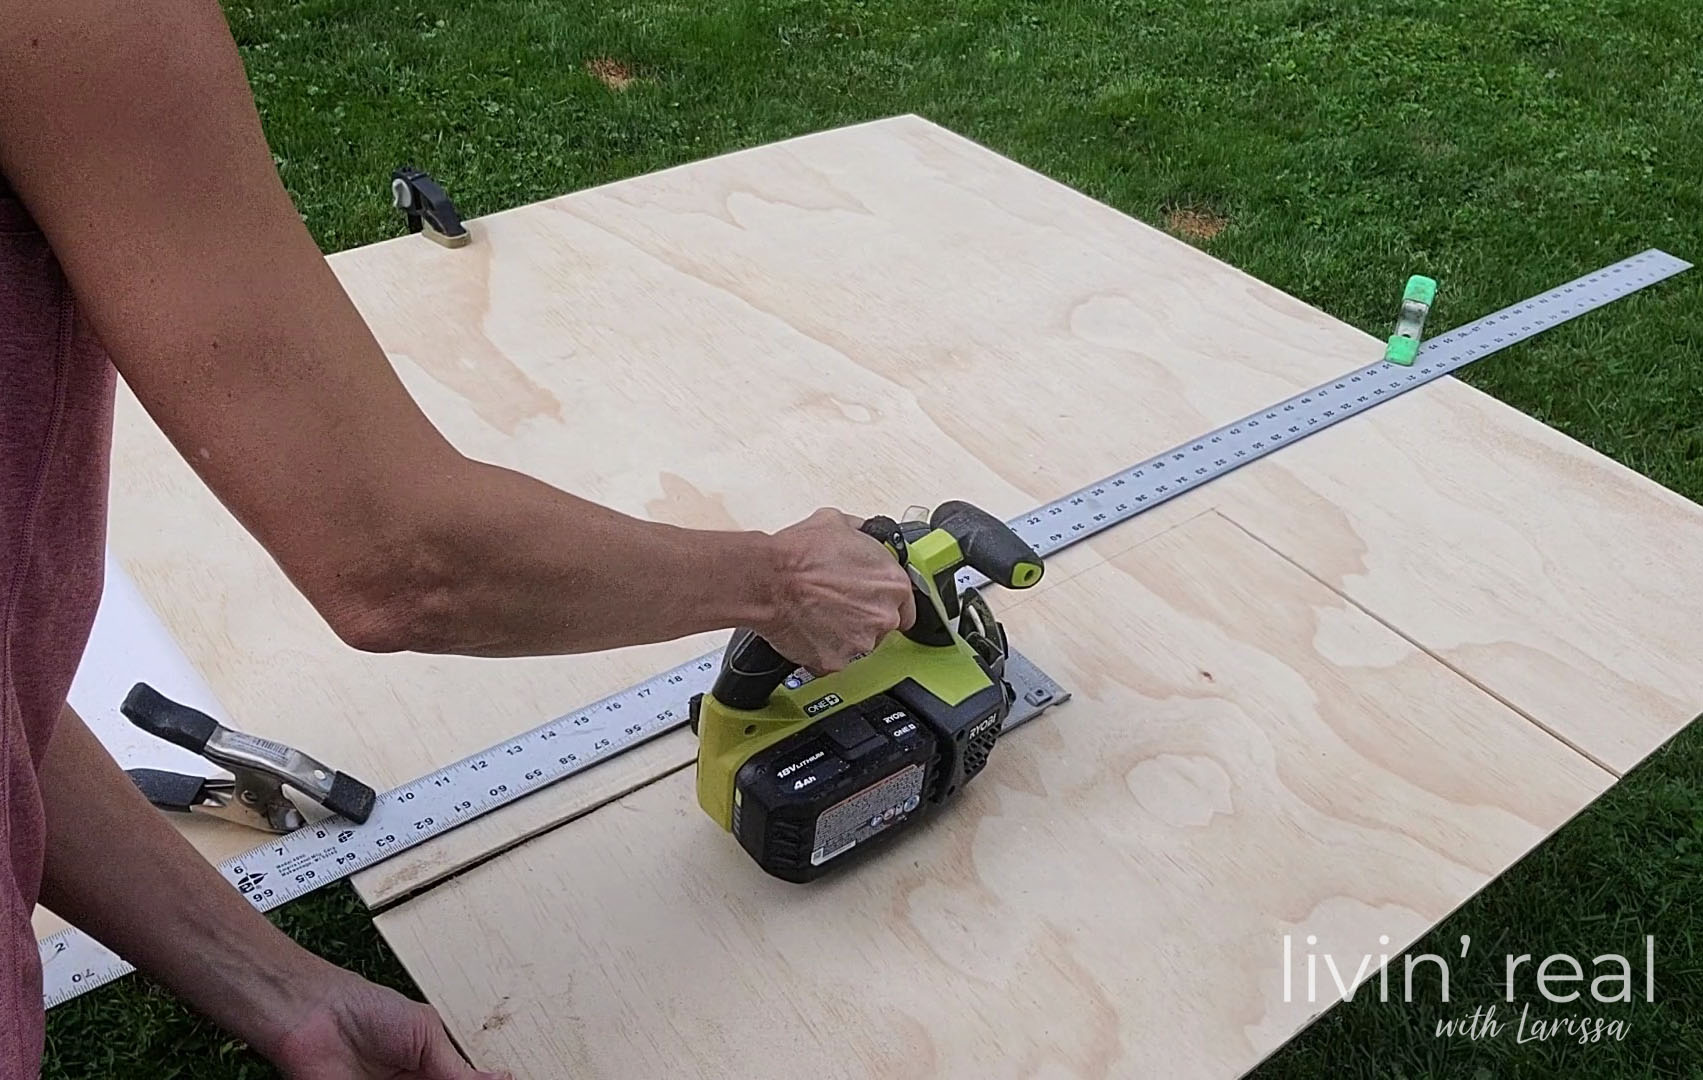
Once I have my pieces cut, I need to create the arch part of this design.
STEP 3
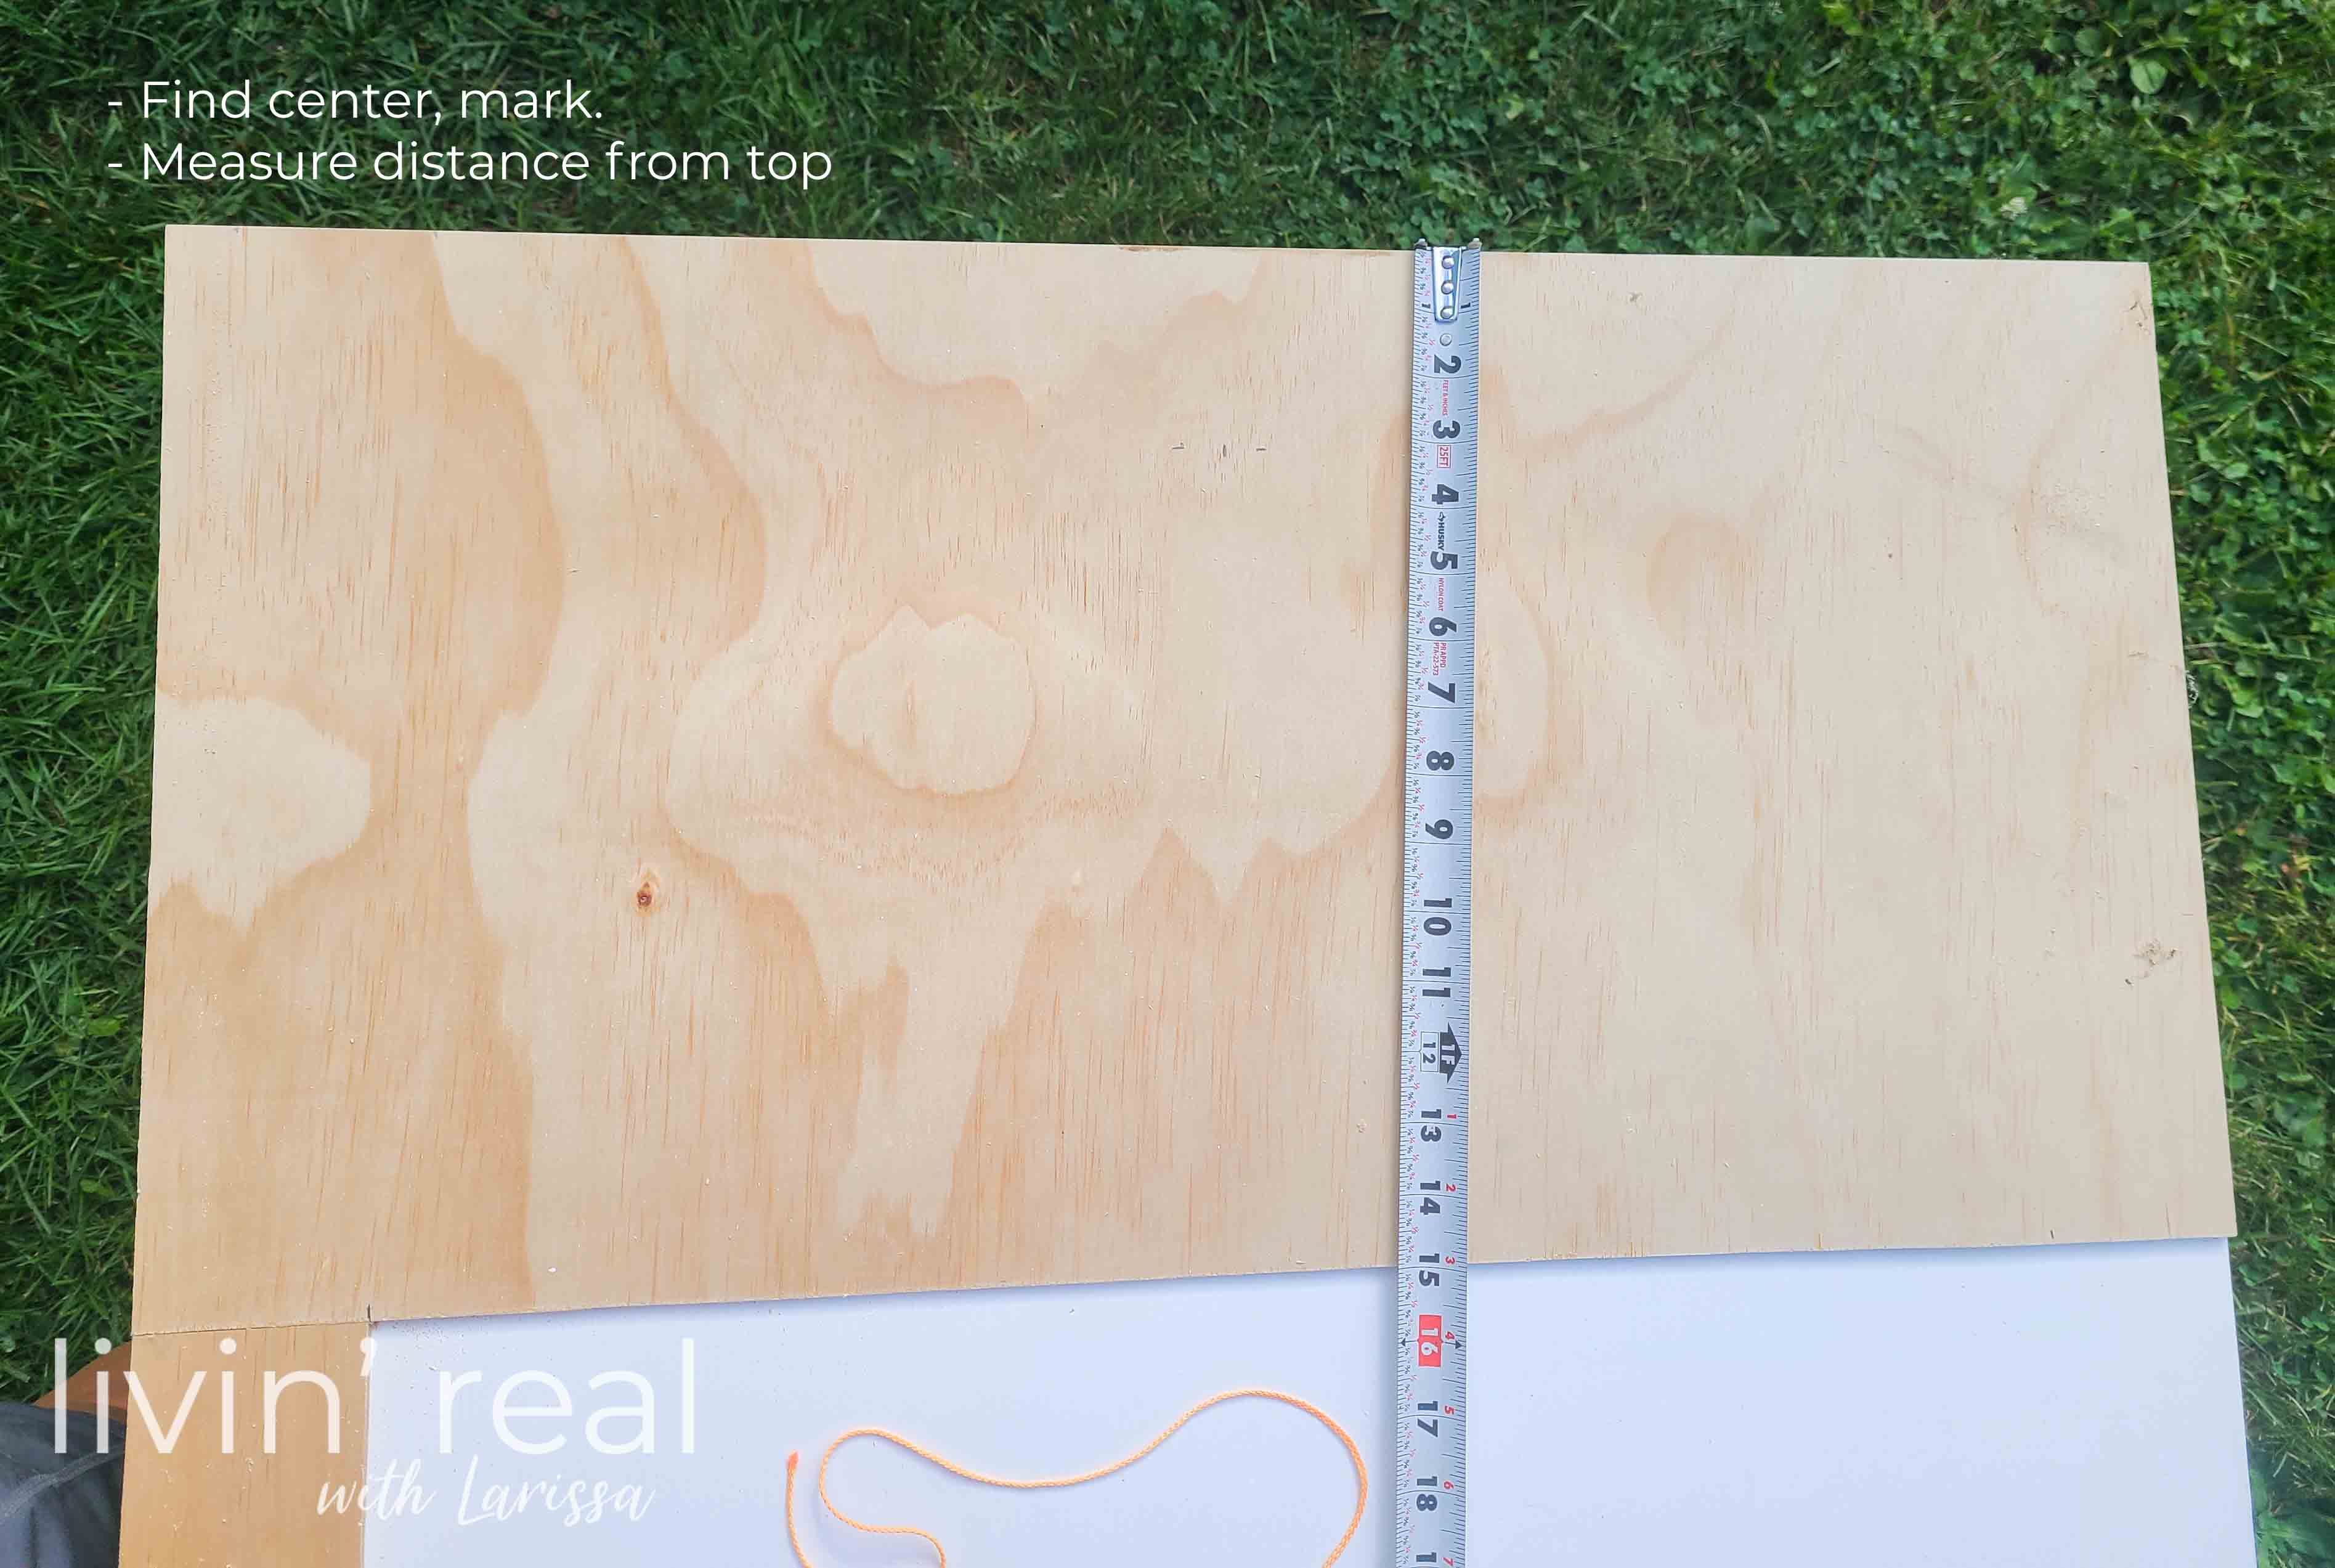
In order to create the panel for the arch, I suggest watching the vlog below for how I figure out the measurements.

My panel measures 30″ W x 15″ high to accommodate the 3″ side strips.
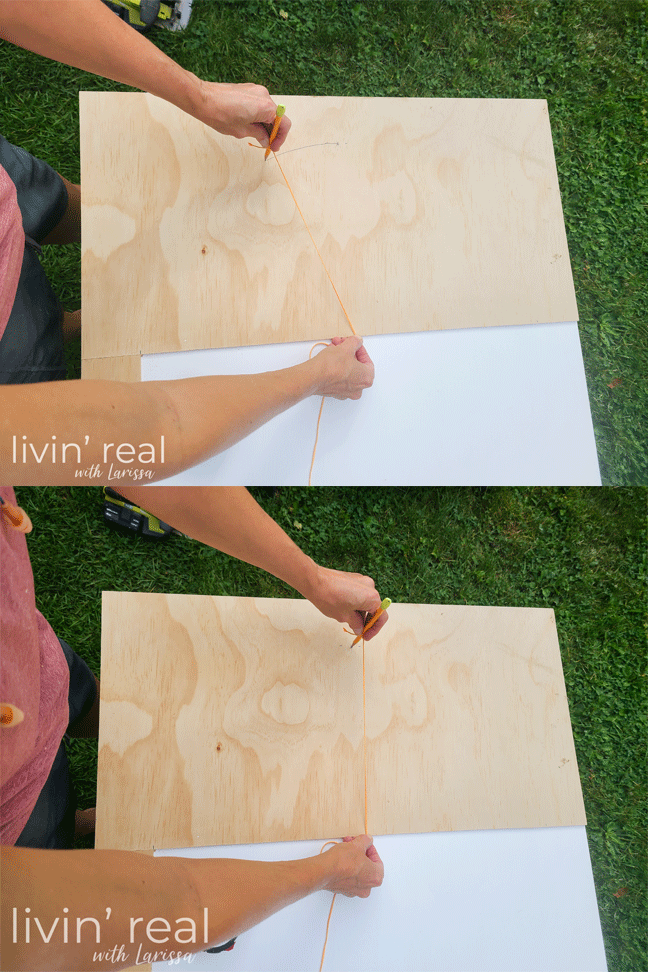
Make two 3″ marks on your panel and find center on both the long top edge and bottom edge. Using our string and pencil, we hold the string taught at bottom center while holding the pencil upright at top center.
Working to one side and then the other, create your arch landing at the 3″ marks.
Then, using your saw of choice, cut the arch.
Attach your pieces (use wood glue if you prefer extra hold) to the door using your nailer or stapler. Make sure to account for hinges, handle/knob holes, and even if your door closes from the inside out or outside in.
*note: You may have to adjust your strips and panel for door jamb thickness, which I address in my paneled hollow core door project linked post above. I simply cut the frame pieces to sit just inside the jamb.
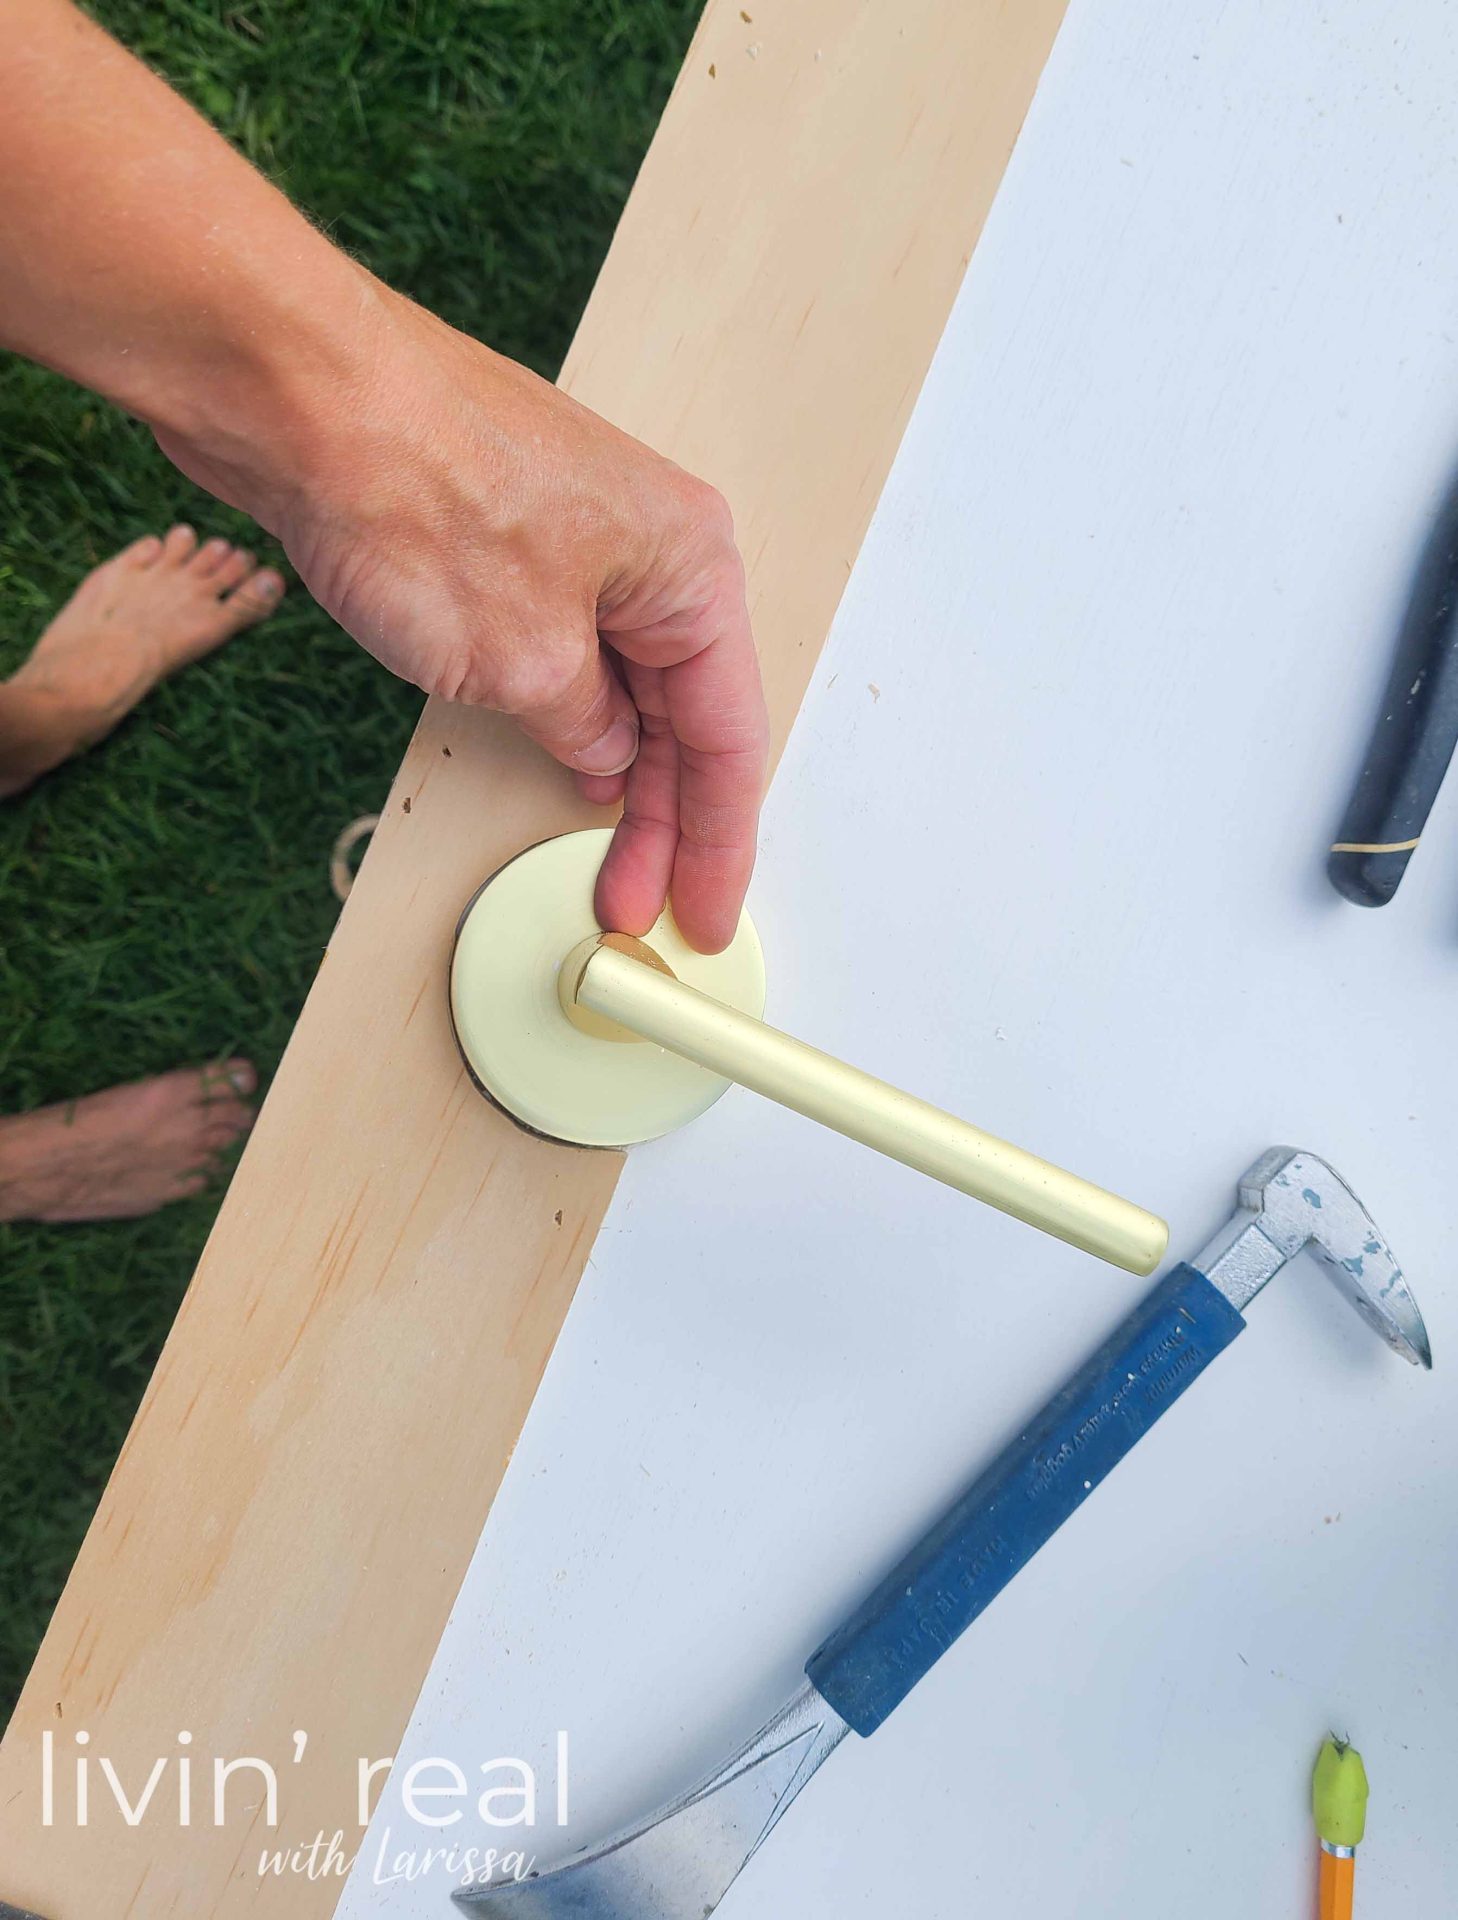
I had already replaced the knobs with handles when I moved in. However, at this point I also clean and paint the hinges to match.
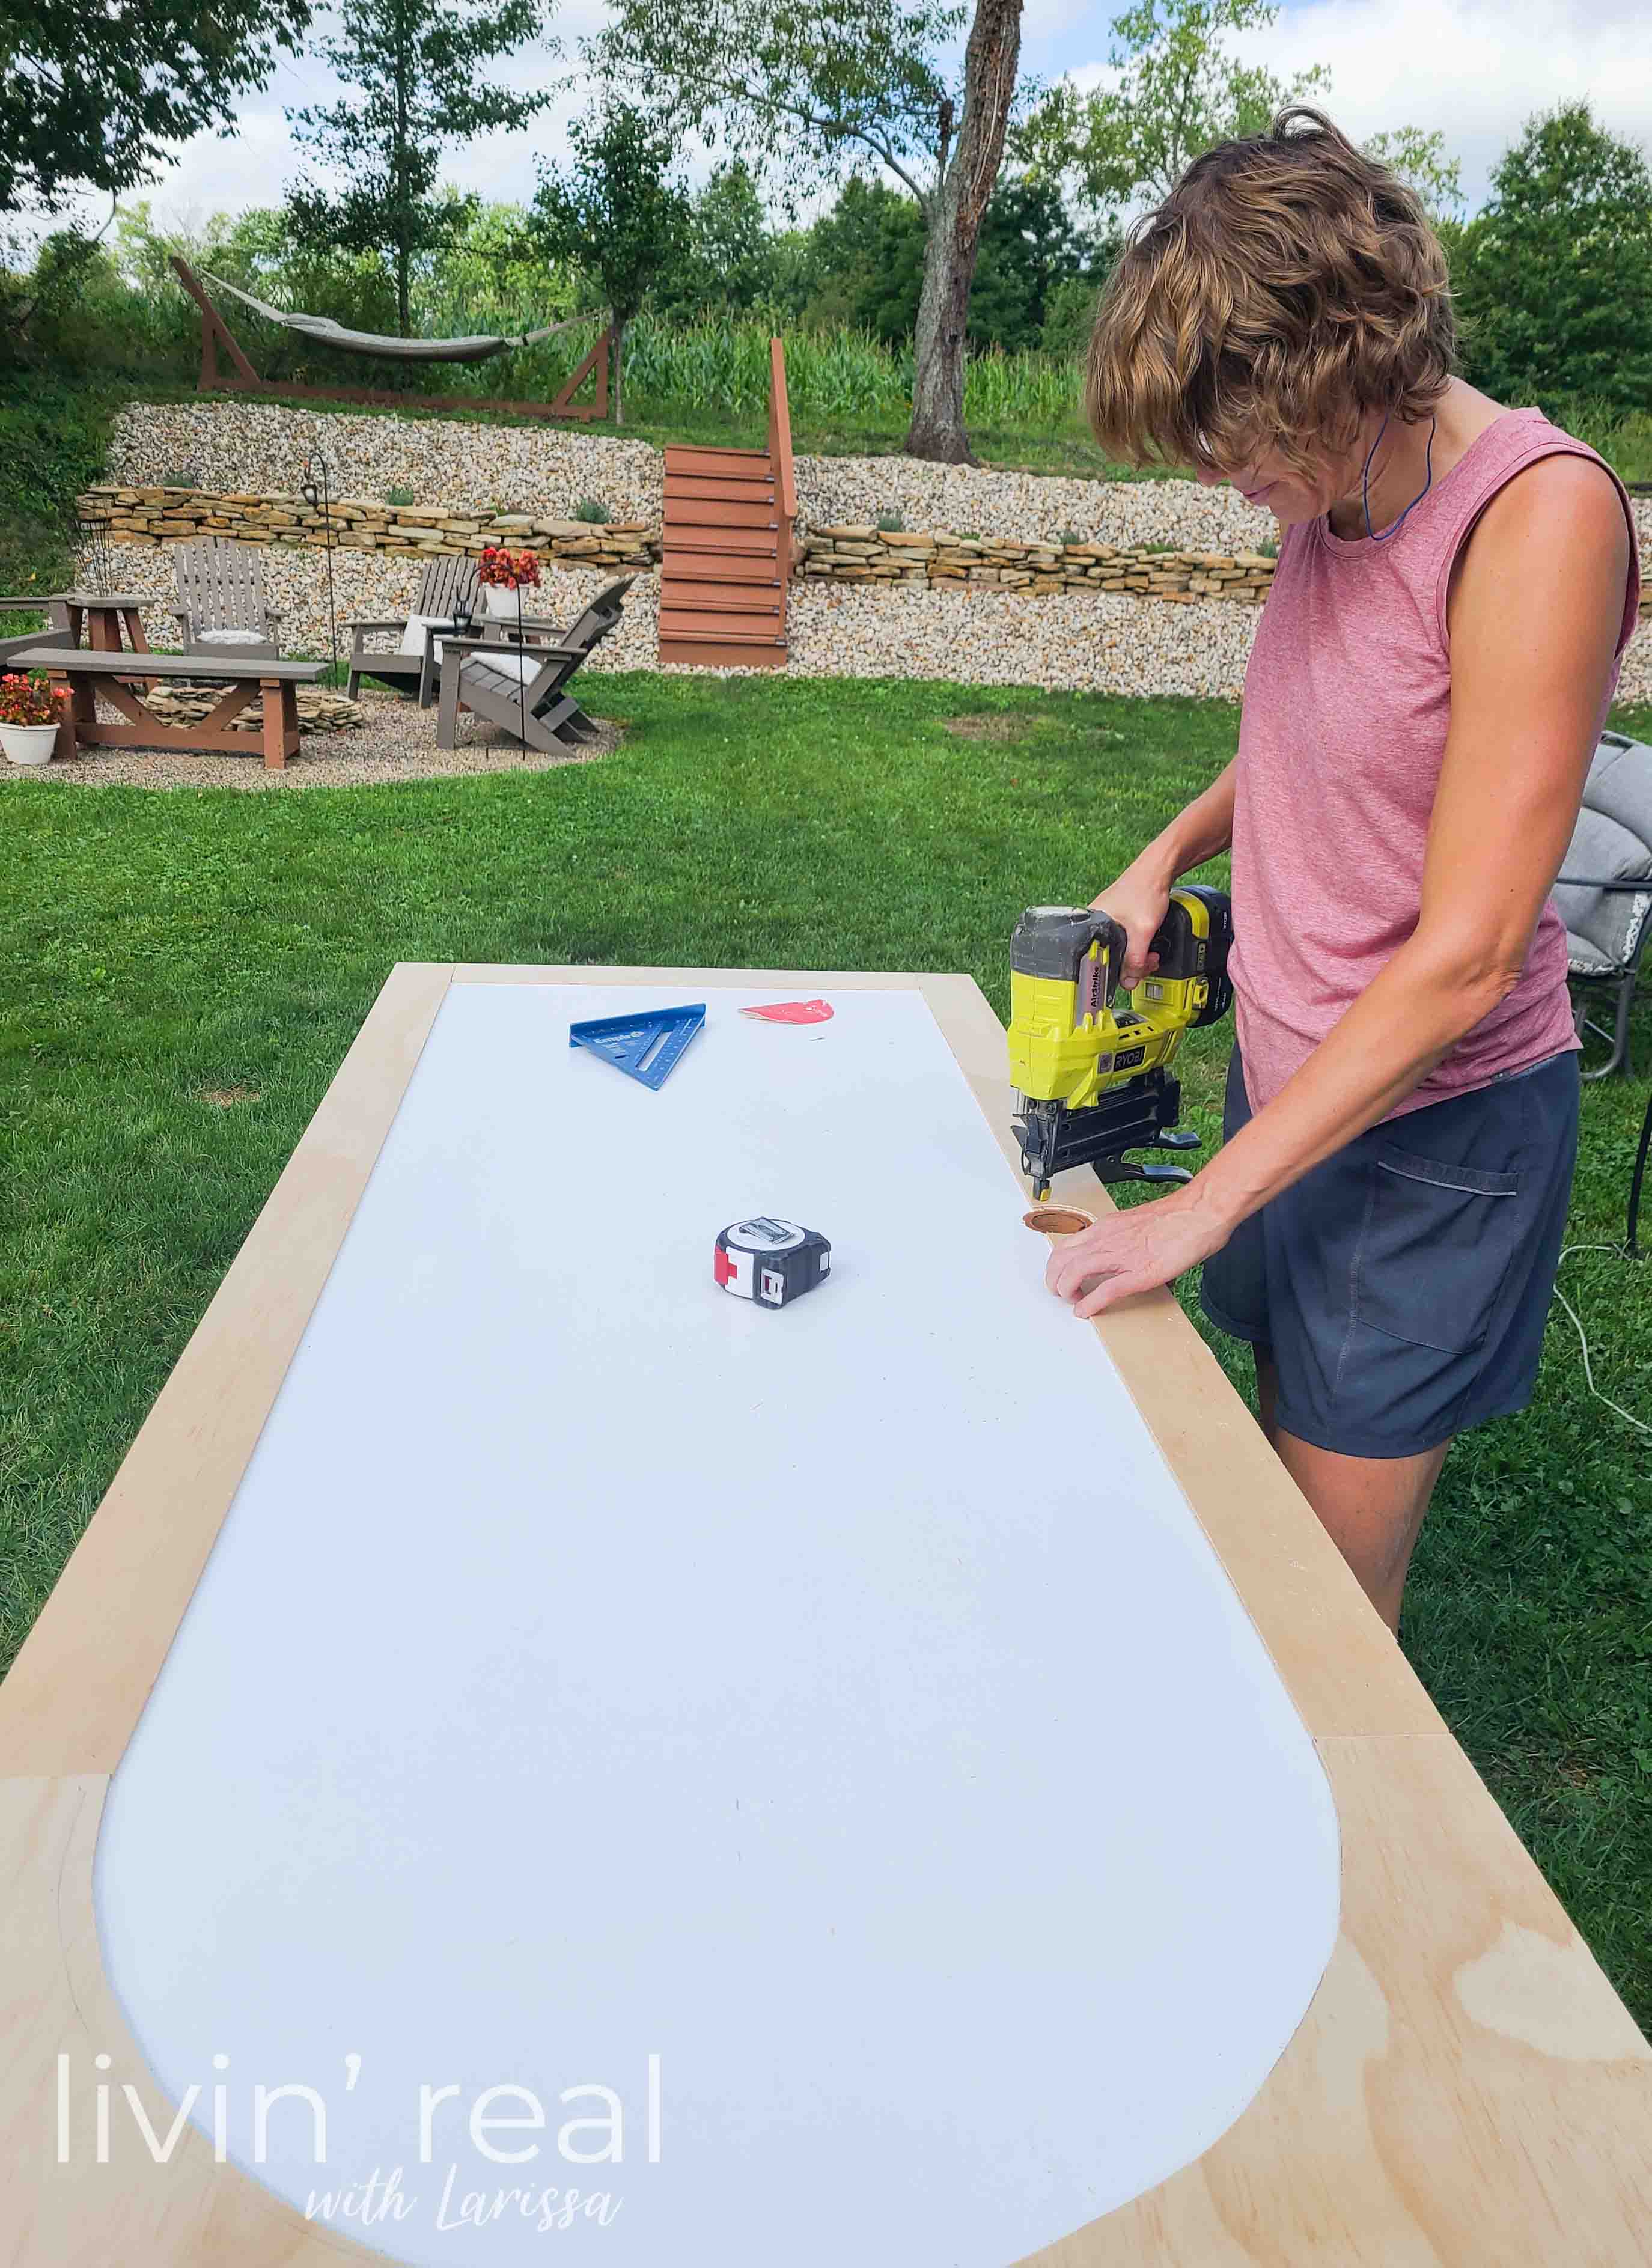
Next, fill in nail holes with wood filler, let cure and sand.
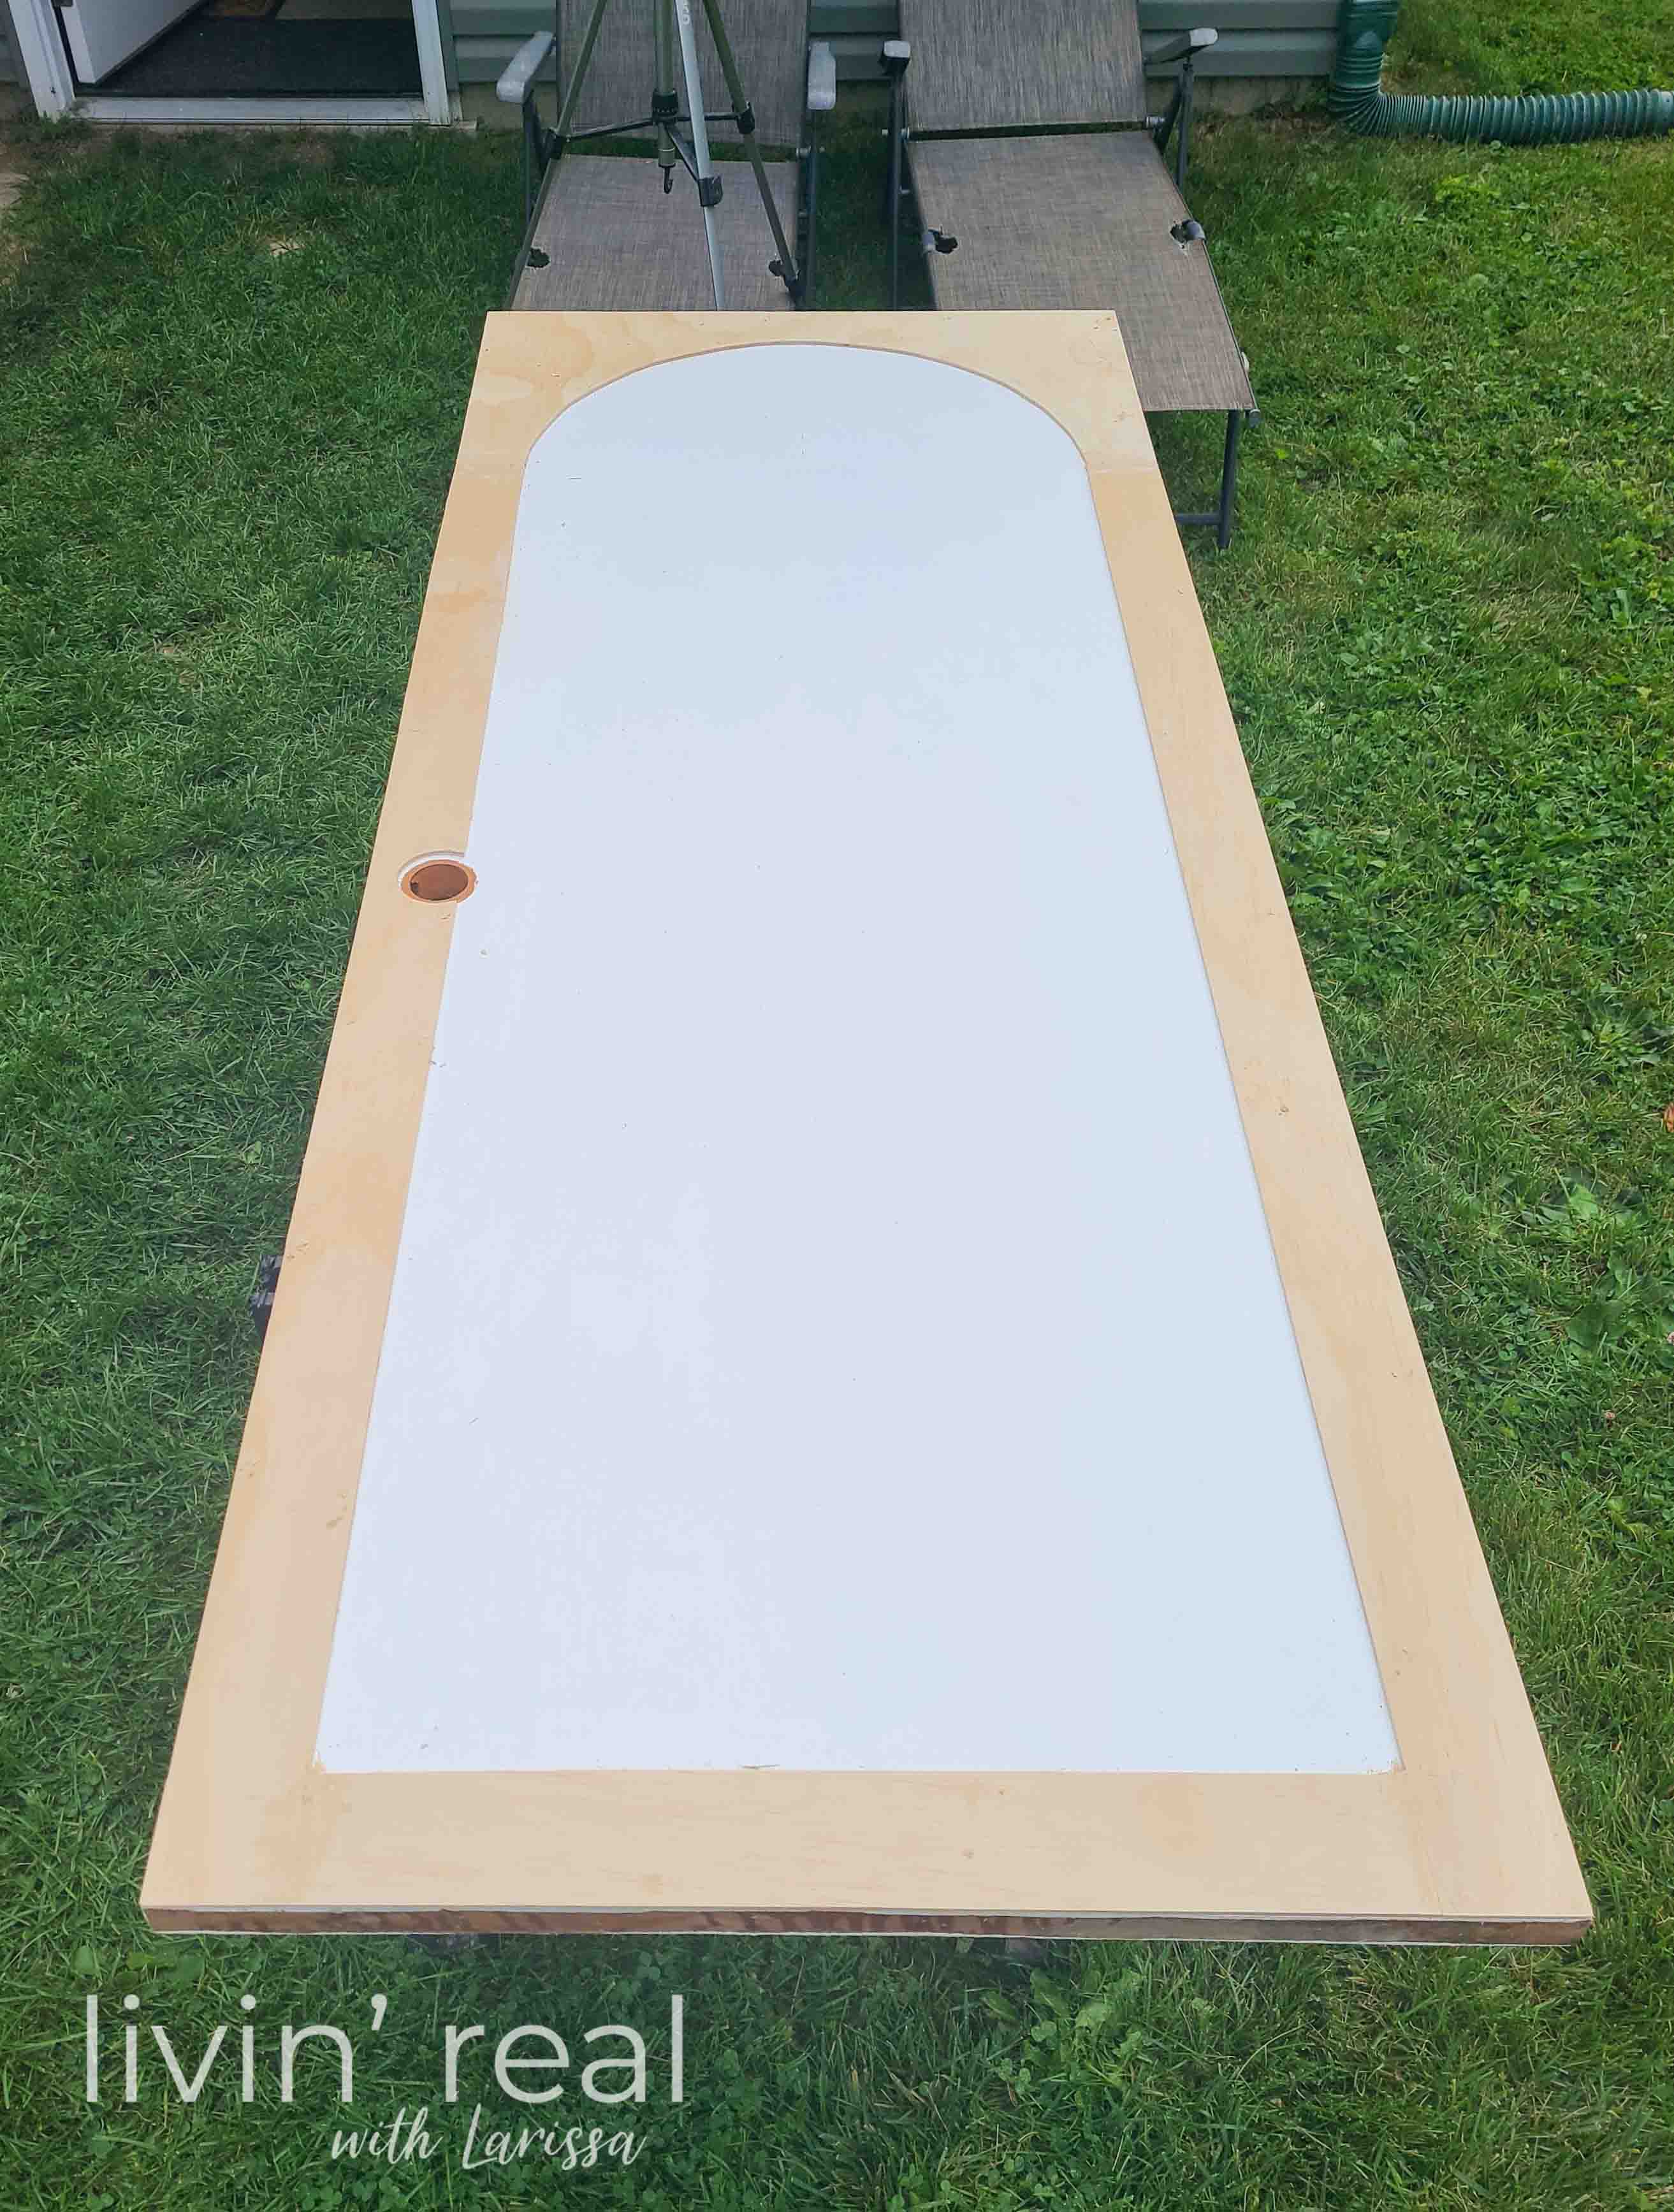
STEP 4
At this point for me, I needed to take a carved piece of time out to tend to my health – my mental health.
You see, I am sharing a small portion of my story to inspire those of us that have a burden many cannot see. View my vlog for the details.
STEP 5
Finally, you can finish your door as you see fit.
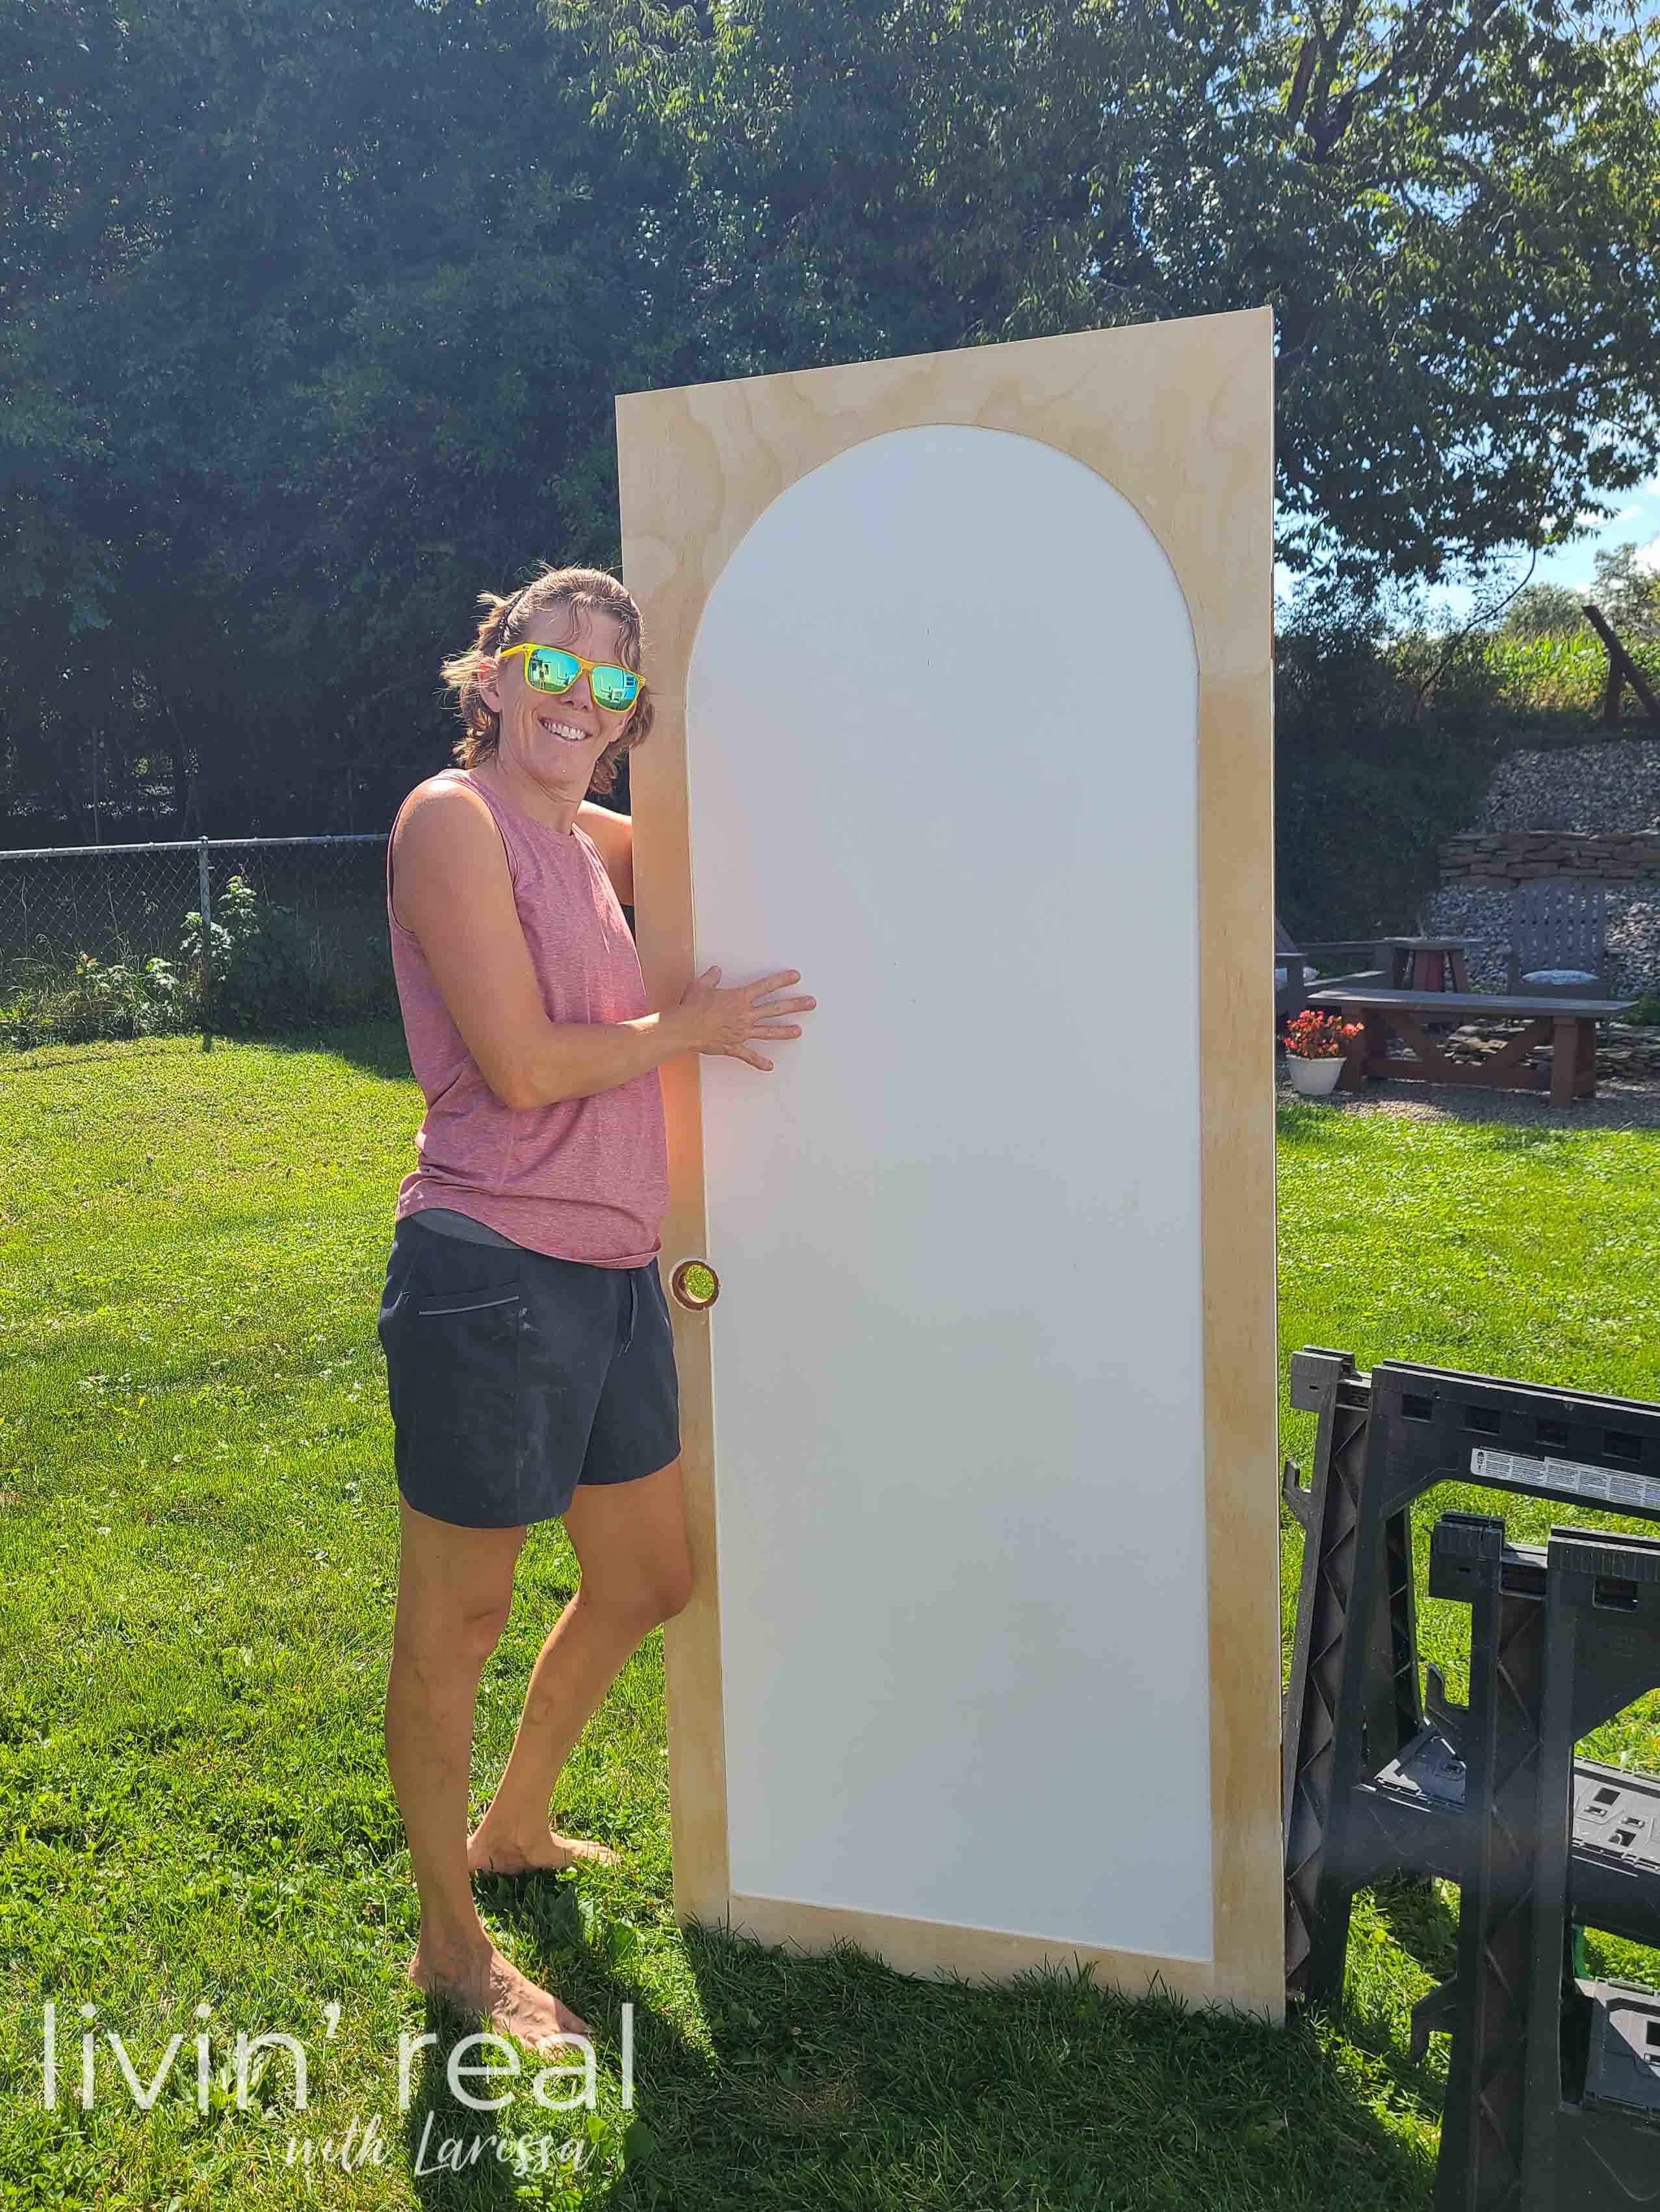
For me to finish the space in continuity with my other work and rooms, I paint it Pure Earth – a soft, subtle tone.
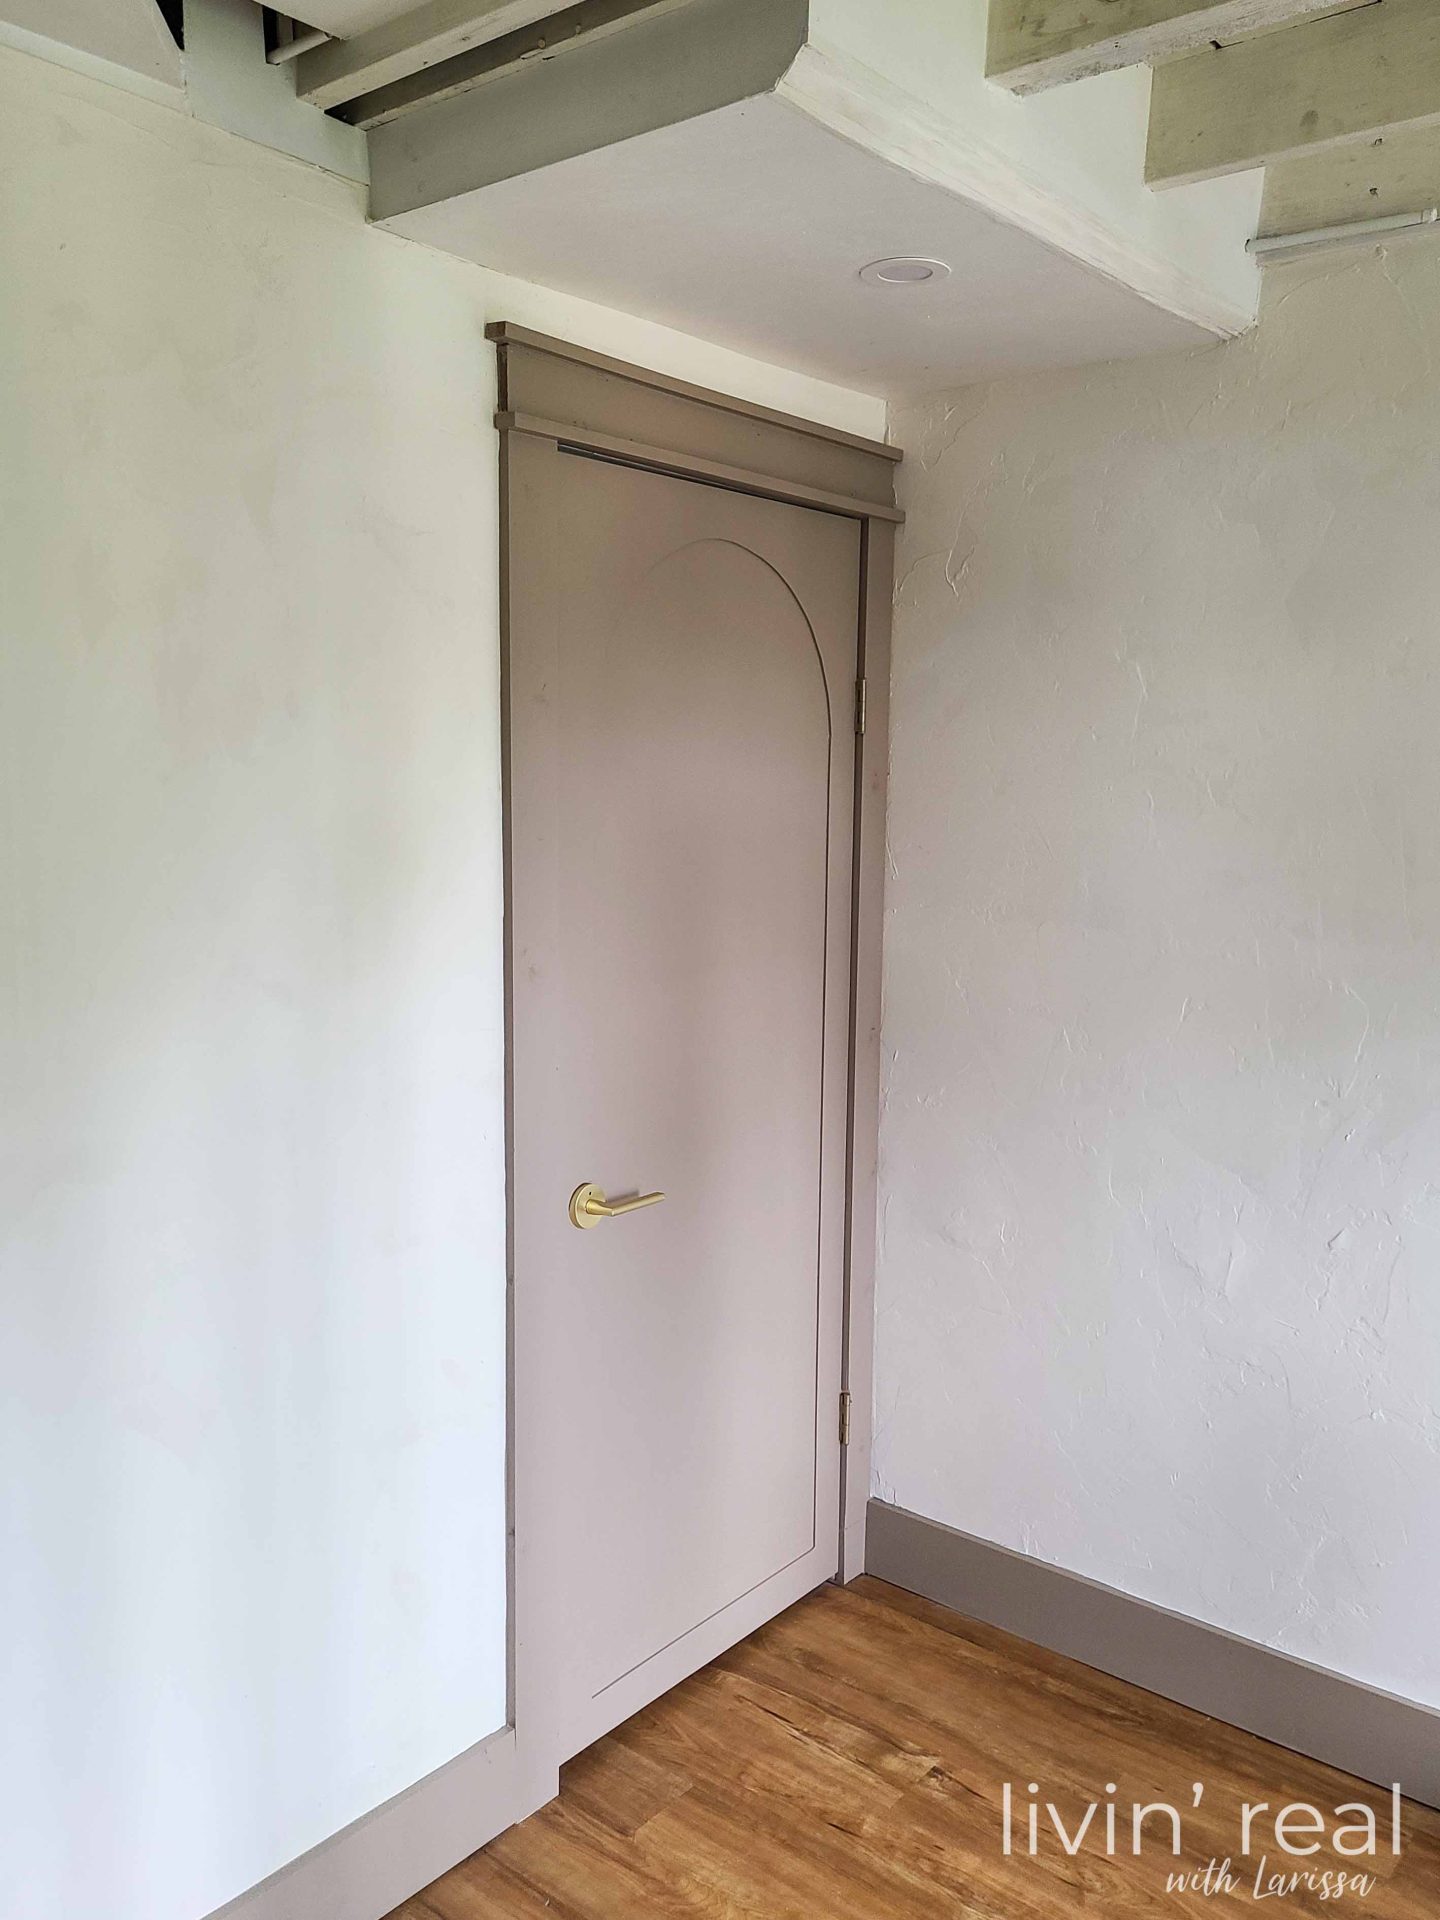
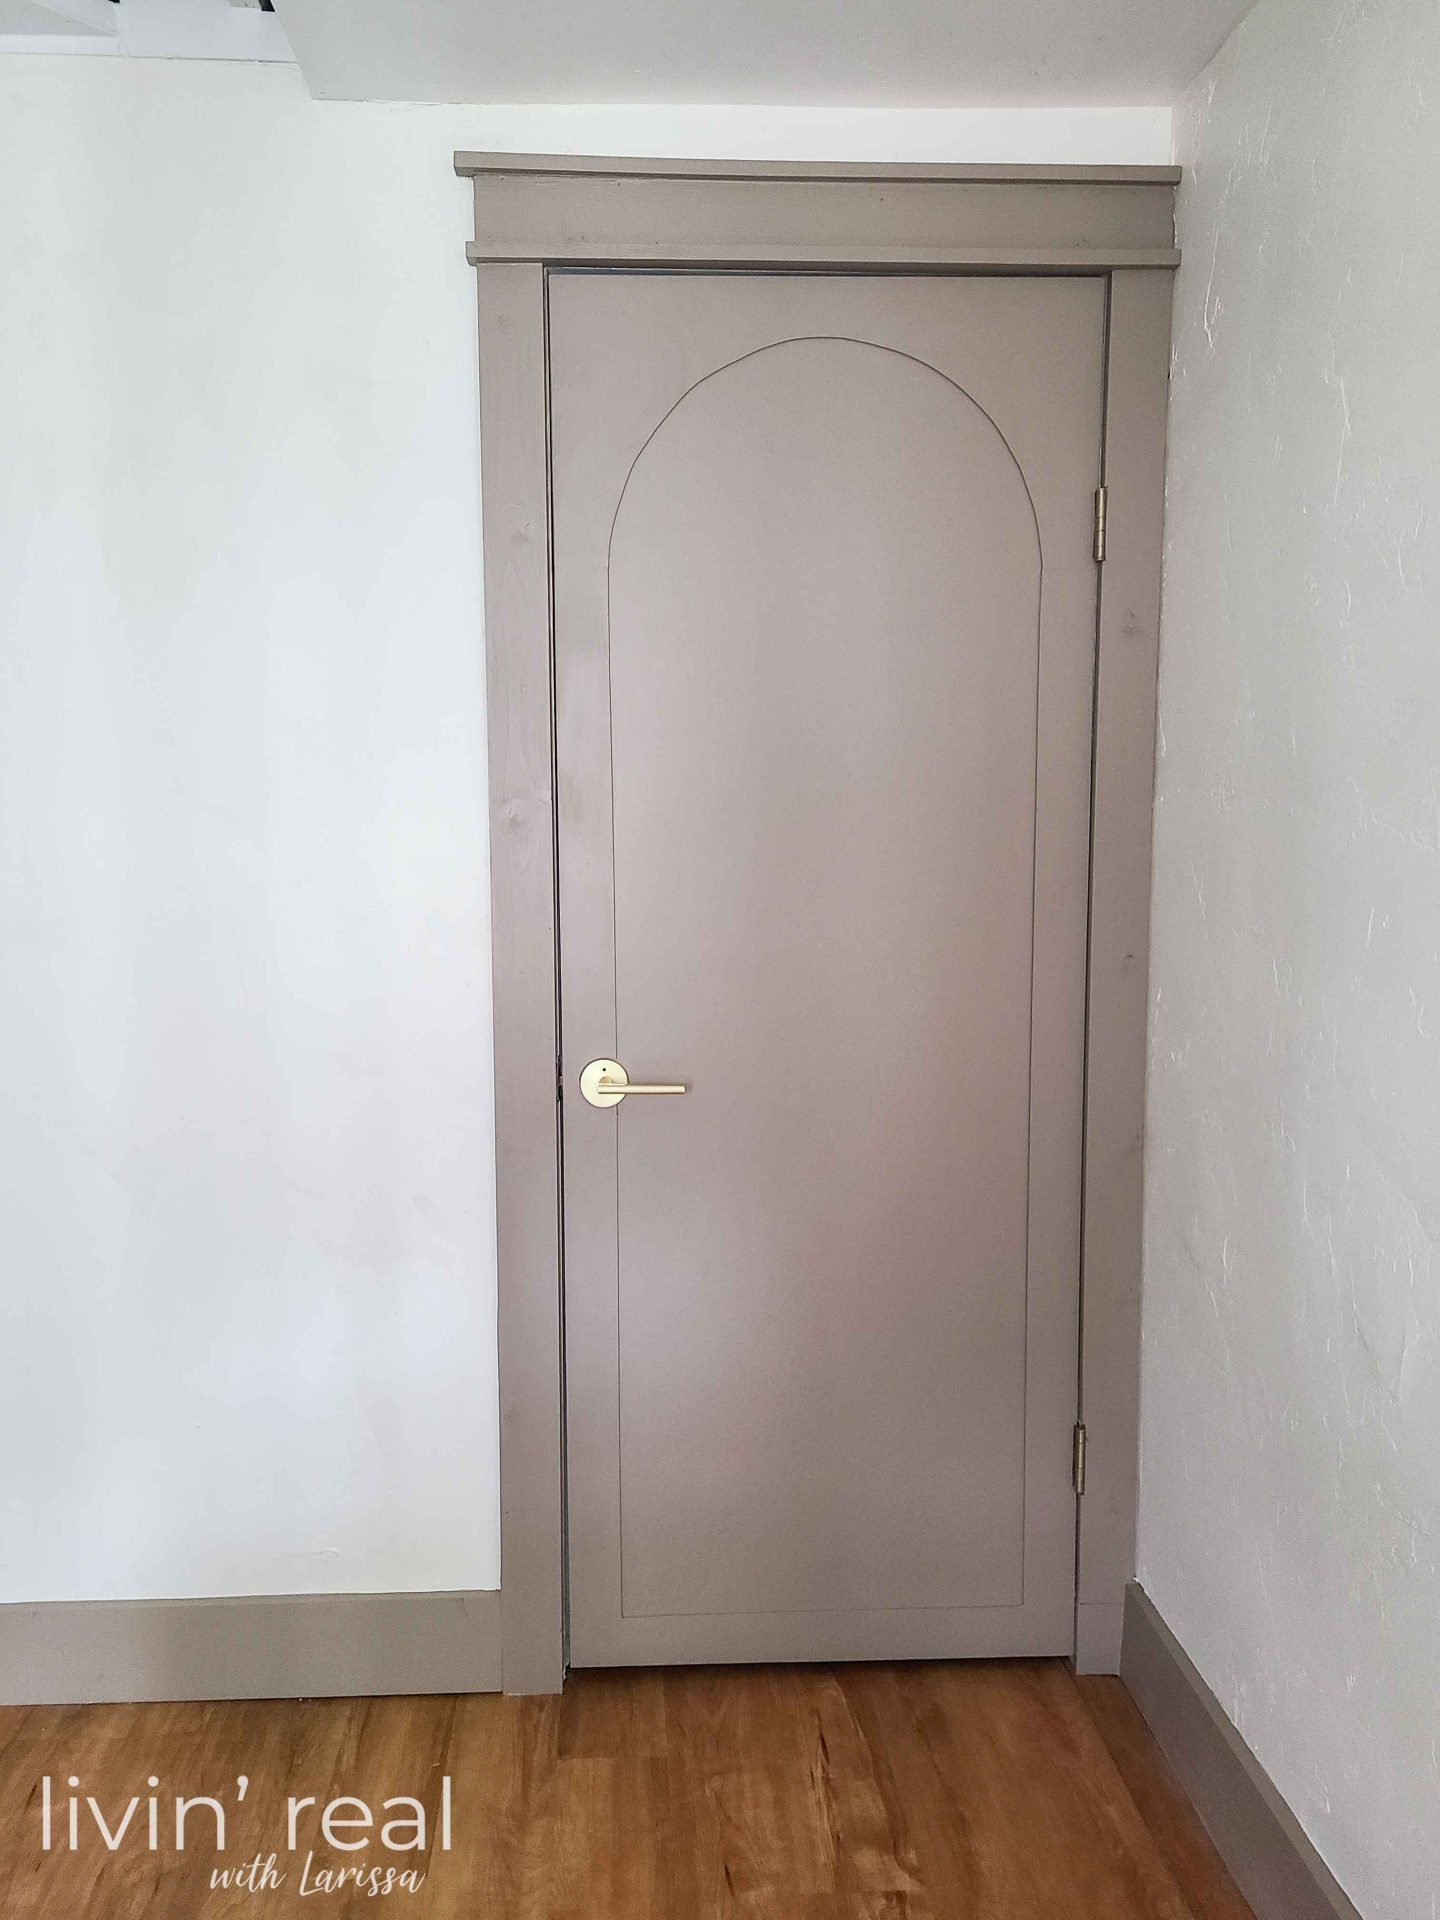
Now my eyesore is gone, and I can get carry on. I finish the baseboards up to the wall furnace I have next to tackle.
In addition, I also share an exciting story to come in my vlog above!
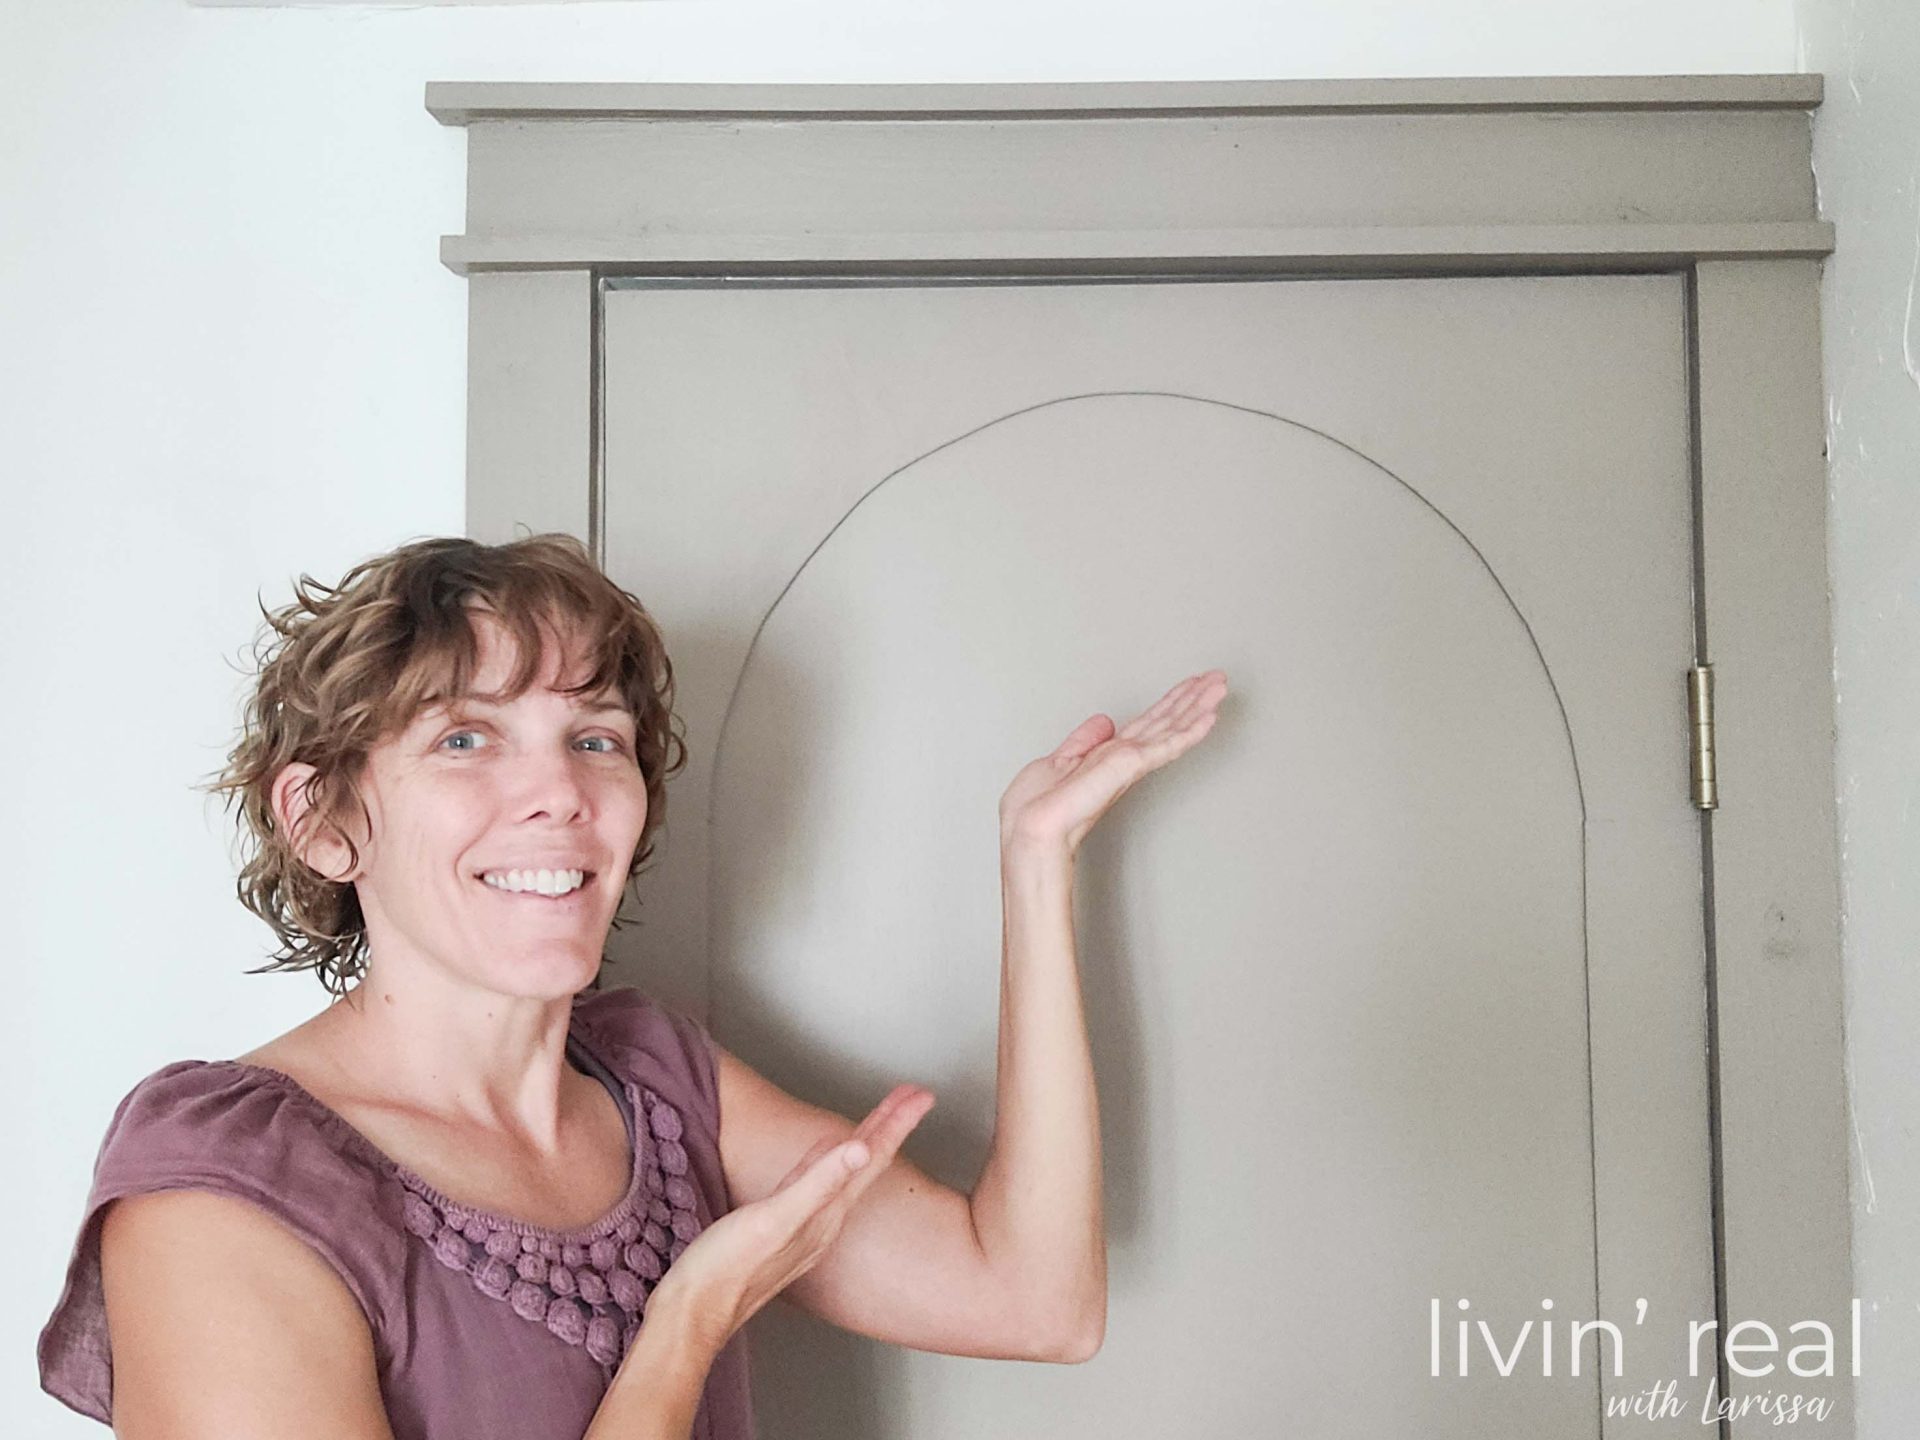
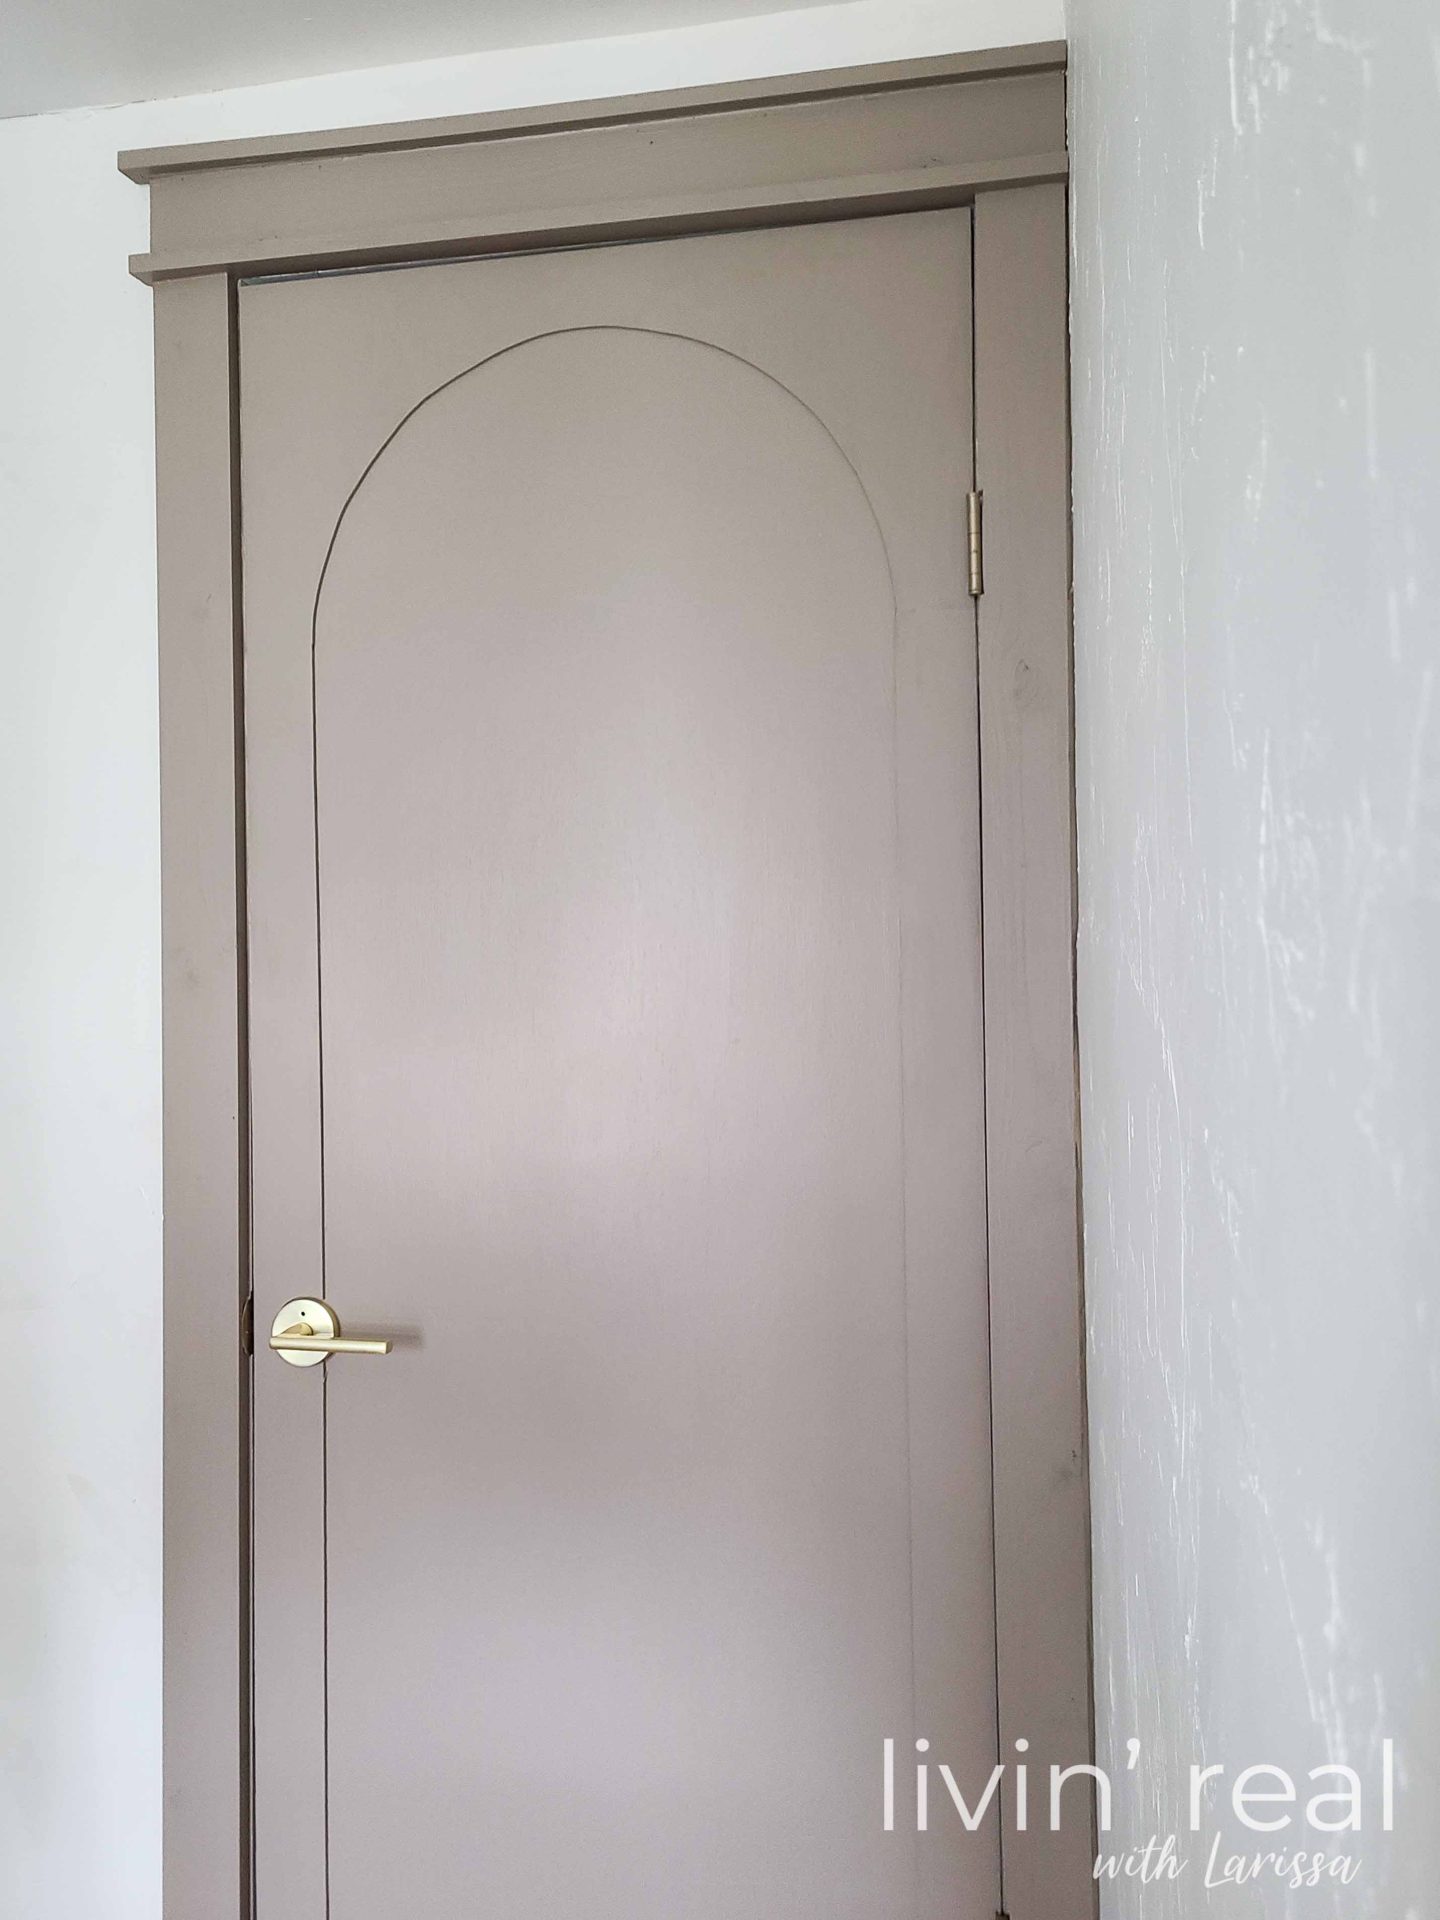
Now it’s your turn to tell me… would you do an arched hollow core door? Or would you do the panel style I’ve done before? Let me hear it in comments below. What is more, also pin and share so others can enjoy this free tutorial.
Before you go, be sure to sign up for my FREE newsletter. Until next time!

 INSTAGRAM | FACEBOOK | YOUTUBE
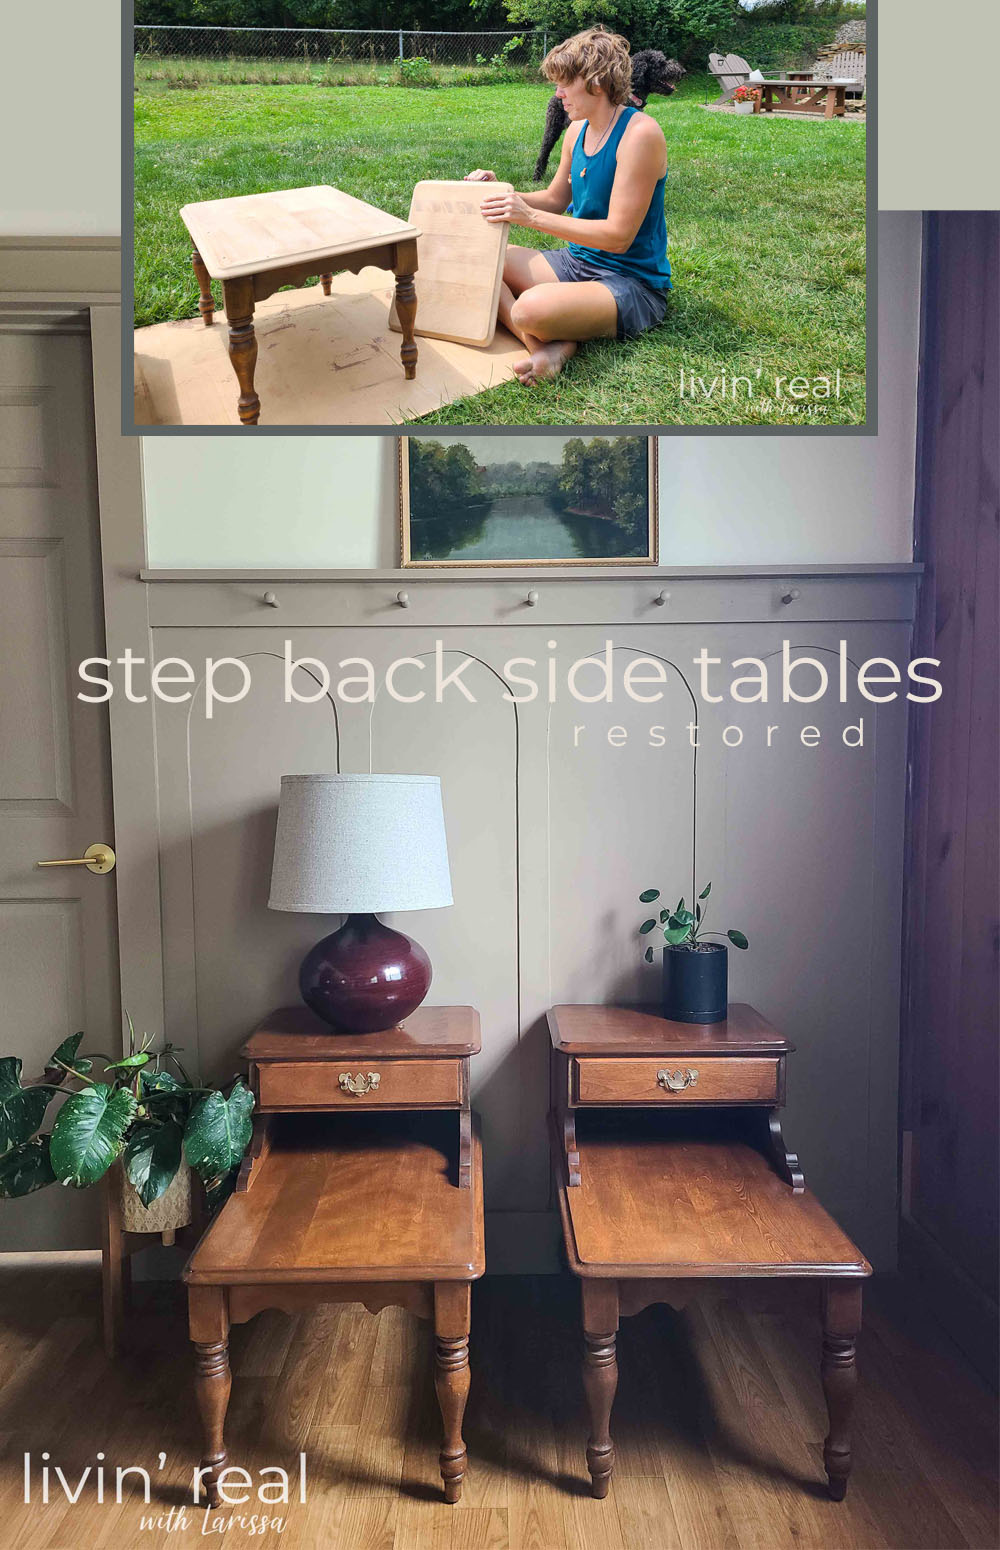
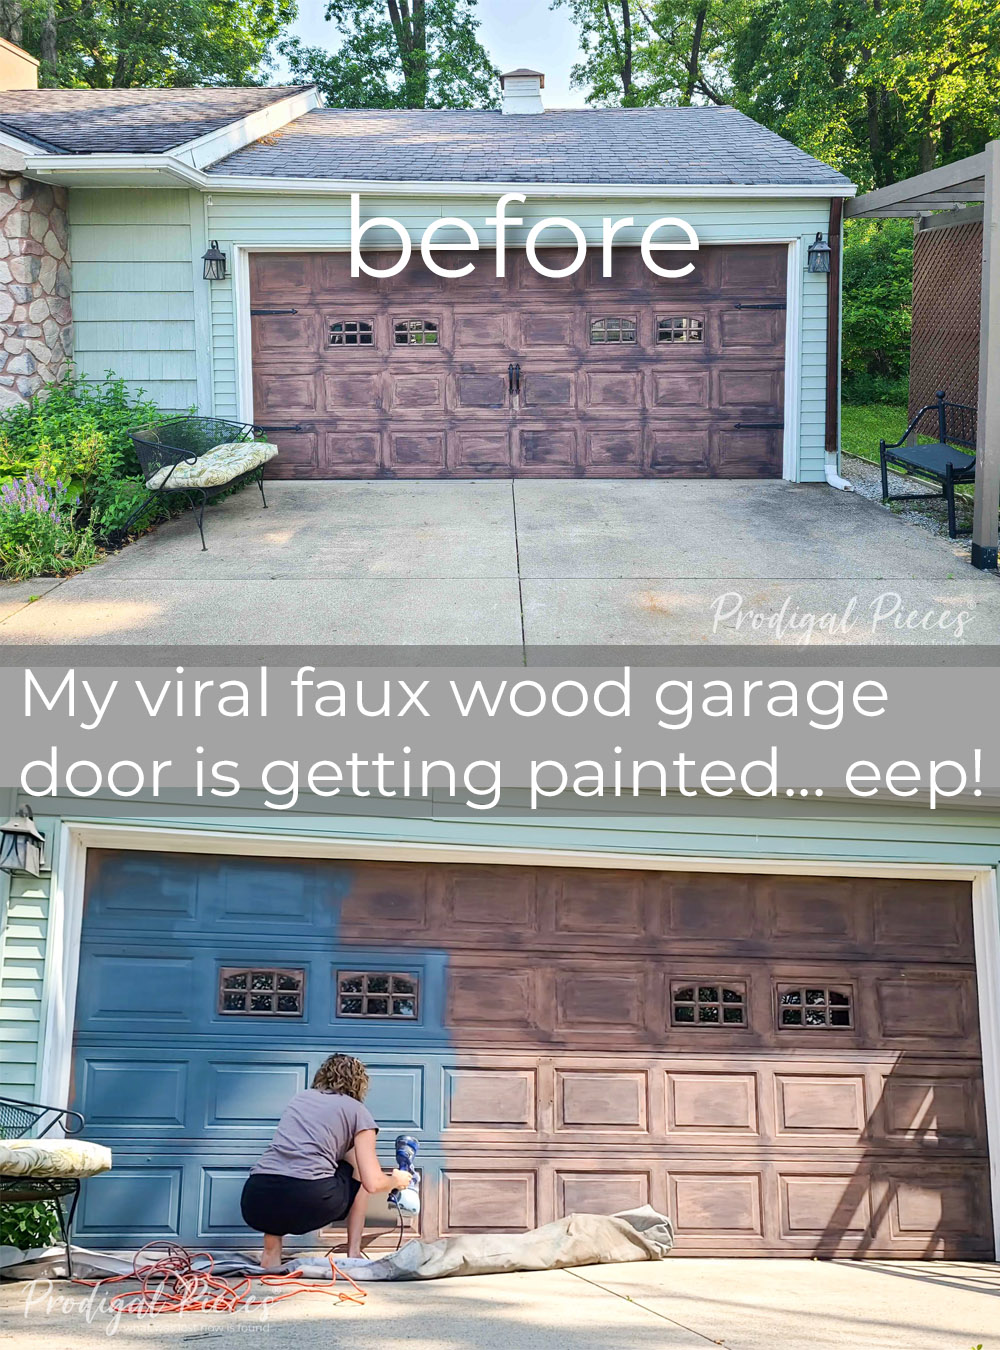
In the mood for more tutorials like this arched hollow core door? See these:


This door looks fantastic! I would give anything to be able to do this to our hollow core doors from the 70’s. Since I don’t own the house, we can’t change them. Our last neighbors, next door, ruined their doors and management replaced them with nice doors once they were evicted. Since we have been here nearly 11 years I think we deserve a change! Ha! 🦋
woot! Thank you for saying so, Dale. Maybe you can at least make a request to dress them up (And show them this wonderful tutorial 😉 ) Ya never know.
Another great update!
Thanks, Kris!
Looks amazing. I love that color too!
My daughter said that it looks like a door in an antique home that leads to some far away land. Love it! 😀 Thank you, Karen.
Wow!! What a huge difference!!! Totally changes that corner and hugely elevates the look of the whole room. Clever lady!!! 🥰 Now… about my doors….🤔😂
Whatcha got? Hollow core, I am guessing. 😉 Where there’s tools and a willing spirit, there’s a way! 😀 Thank you, Rebecca.
Tools and a willing spirit I’ve got…. Talent is a little short in supply! 😂 I’ll live vicariously through you. 🥰👸